


Do you want to add a Wix fonts? As when you create a website, the typeface you choose sets the stage for your visitors and gives them a feel for your unique style.
Are you tired of seeing the same fonts on every website you visit, including your own Wix site? Don't worry; we've got your back. In this blog, we will make your life a whole lot easier.
First, we will walk you through nine simple steps to upload your favorite font to your Wix site. It's straightforward, and anyone can do it - yes, even if you're not tech-savvy.
But we won't stop there. We're also going to share some cool places on the internet where you can find and download unique fonts that will make your site stand out from the rest.
At the end of the blog, we'll tell you the best file formats to use when uploading fonts to Wix. This information will save you from any potential headaches down the line. Here are the topics which we’ll cover in this guide:
- How to add custom Wix fonts
- Where to find free fonts for downloading?
- Choosing the appropriate font file format for download
- How do you make your fonts serve your UX?
So, are you ready to give your website a fresh, new look? Let's get started and turn your Wix site into a real showstopper.
Steps: How to Add Custom Wix Fonts
Let's delve into the process of uploading your custom font to your Wix webpage. In a straightforward 9-step guide, you will learn how to upload a font file from your computer to Wix and verify if the upload was successful. So, let's get started.
Step 1. Sign In to Wix Account
First of all, visit the site Wix.com, then click on the login at the left side of the Wix site.

Start by logging into your account on Wix.com. To do this, you need to input your email and password. Once signed in, you'll gain access to your account dashboard, where you have the ability to design or modify your site.

If you haven't yet acquired a Wix premium plan, it's advisable to purchase one. Following the acquisition of your plan, navigate through your Wix account accordingly.
Step 2. Click on the the ‘My Sites’
You are currently viewing your Wix account dashboard on your screen. To proceed, locate the "My Sites" option at the top section of the dashboard, typically found in the header. Clicking on this option will reveal all the sites you've previously designed.

Step 3. Click on the ‘Edit Site’
In this stage, you're required to choose the site where you wish to incorporate the desired font. Displayed on your screen are all of your existing websites. Using the Wix Editor, you can modify or adjust these sites to meet your specific needs.
Once you've made your selection, you'll notice an "Edit Site" option in the top-right corner of your screen. Proceed by clicking on this.

Step 4. Click on the ‘Text Box’
Next, identify a text box on your Wix webpage. It's not important which text box you choose; you can pick any from the entire webpage. To add or upload your custom font, simply click on your chosen 'Text Box.'

Step 5. Click on the ‘Edit Text’
Next, within the selected text box, you'll need to locate the 'Edit Text' option, which is typically found at the bottom of the text box.
Clicking on 'Edit Text' will open a pop-up where you can modify the content within this box, enabling you to make necessary adjustments or additions to your website text.

Step 6. Click on the ‘Fonts’
Since you want to add a custom font to your Wix website, you need to access the ‘Fonts dropdown’ menu. This menu is in the pop-up window that appeared when you clicked 'Edit Text' in the previous step.
By clicking on this dropdown, you will be able to view and select from various font options for your site.

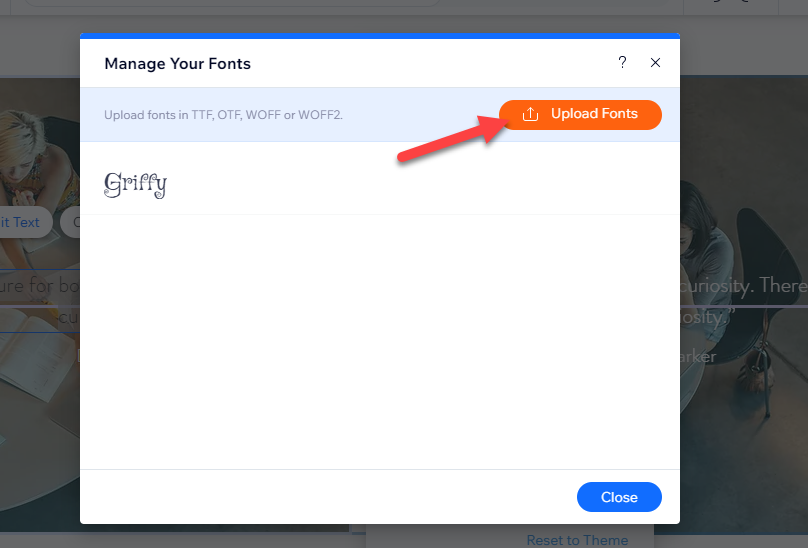
Step 7. Click on the ‘Upload Fonts’
Upon clicking the 'Fonts Dropdown,' you'll be able to view all the fonts that Wix provides for your website. You can select any of these fonts to suit your text requirements.
Moreover, if you wish to further customize your text style according to your preference, you can upload your font. To do this, simply click on 'Upload Fonts.' This allows you to add a personal touch to your webpage, making it unique and representative of your brand.

Upon selecting 'Upload Fonts,' a new window will appear on your screen, as demonstrated in the screenshot below. In this window, you can proceed by clicking on the 'Upload Fonts' button, which is highlighted in orange.
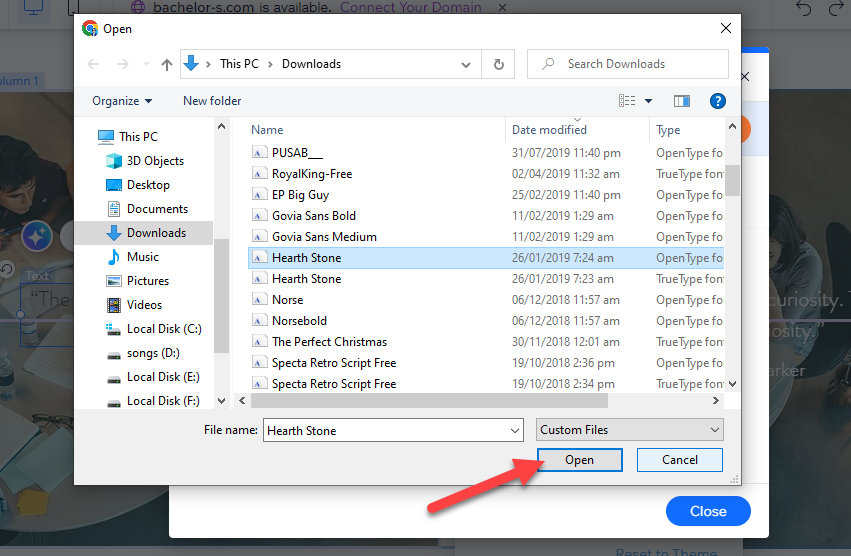
Step 8. Upload File From the Computer
Once you've completed the previous step, a new window will open, prompting you to select the desired font file from your computer. This file will then be uploaded and added to 'My Fonts' on your Wix webpage.
Simply select the extracted font file, in this example, it's 'Health Stone' - and then click 'Open' at the bottom of the window to finalize the process.
Step 9. Confirmation of Uploading Font
After clicking 'Open,' you'll be redirected back to the window, as seen in step 7, where the font upload process begins. Once the font file has been successfully uploaded, it is highlighted in green, indicating a successful upload. This means your custom font is ready for use on your Wix webpage.
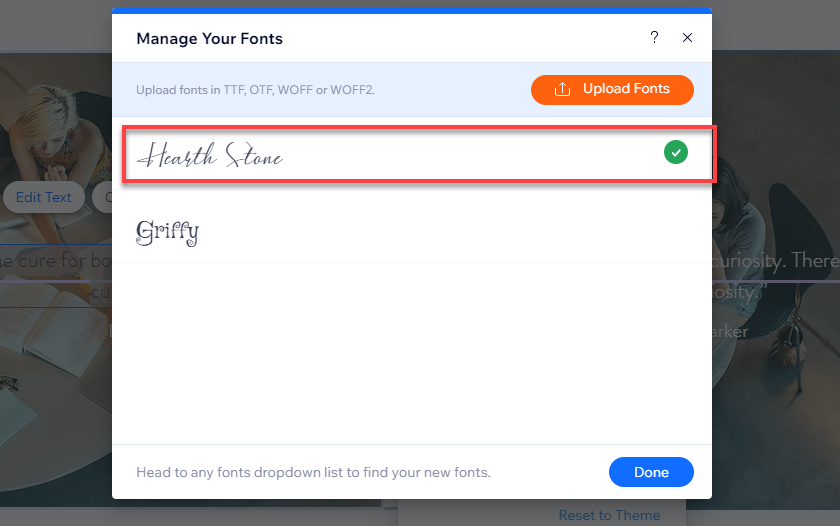
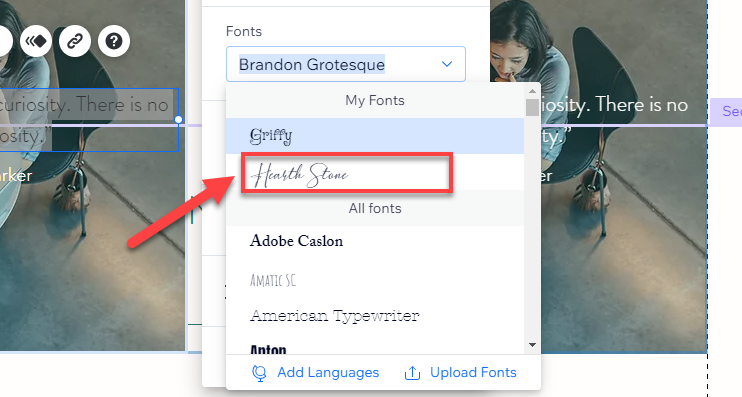
You can revisit the' Fonts Dropdown' menu to verify that your custom font has been successfully added to Wix's library. Your newly uploaded font - in this instance, 'Health Stone' - should be visible under 'My Fonts,' typically at the top of the pop-up window.
More Related Guides
Are you looking for how to learn these:
1. How To Get a QR Code for Wix Website (Visual Step by Step Guide)
2. Learn How to Add Google Analytics to Wix: Visual Step-By-Step Guide
3. Learn How to Add PDF & Document Button to Wix (Step by Step Visual Guide)
4. Learn How to Add HTML Code on Wix (Visual Step by Step Guide)
5. How Does Wix Work? Learn the Use of Wix Editor & Wix ADI
6. How to Accept Payments on Wix 2023 (Visual Step by Step Guide)
Where to Find Free Fonts for Downloading?
There are many websites where you can download fonts for free. Some of them include:
- Google Fonts: Google Fonts is one of the most extensive free font repositories with a wide variety of open-source and free fonts.

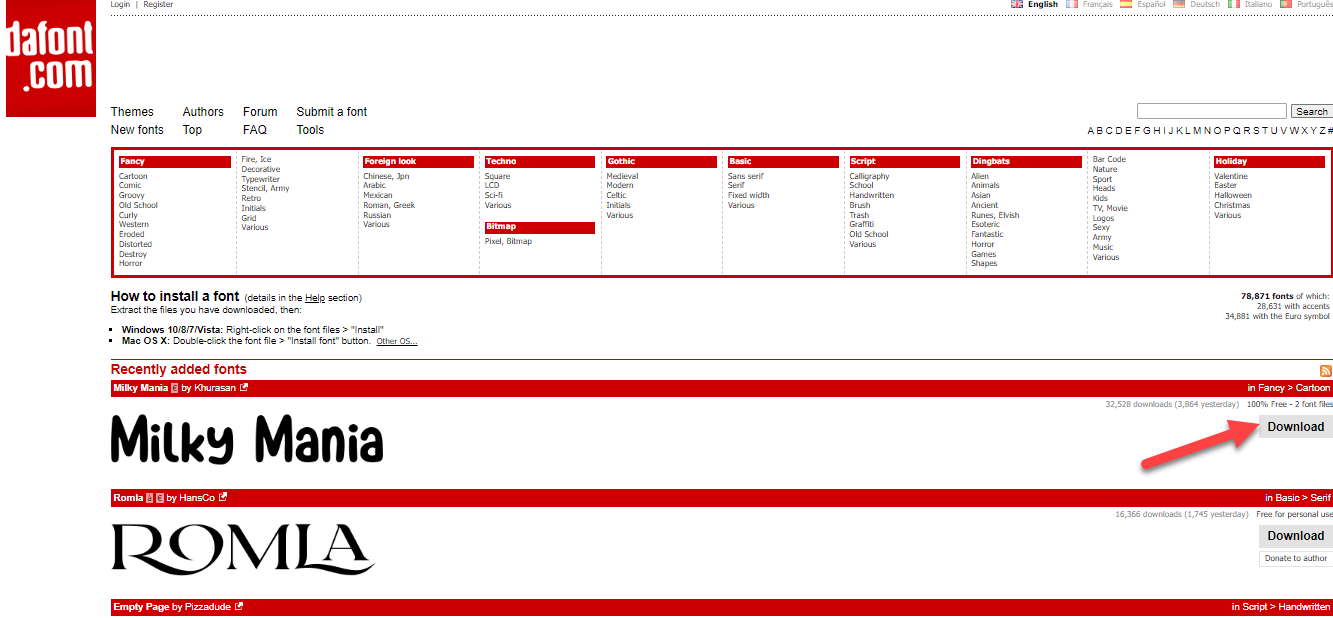
- DaFont: DaFont has a vast selection of freely downloadable fonts. You can browse by alphabetical listing, style, author, or popularity.
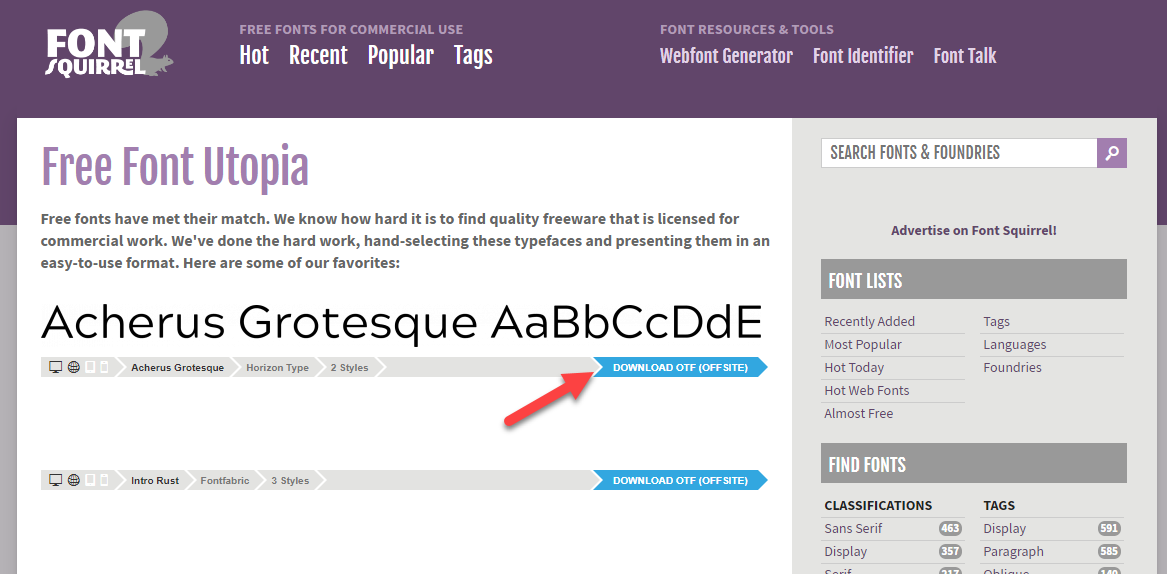
- Font Squirrel: Font Squirrel offers a collection of high-quality free fonts licensed for commercial work.
- 1001 Fonts: This website provides a vast collection of fonts, many of which can be used for personal and commercial purposes.

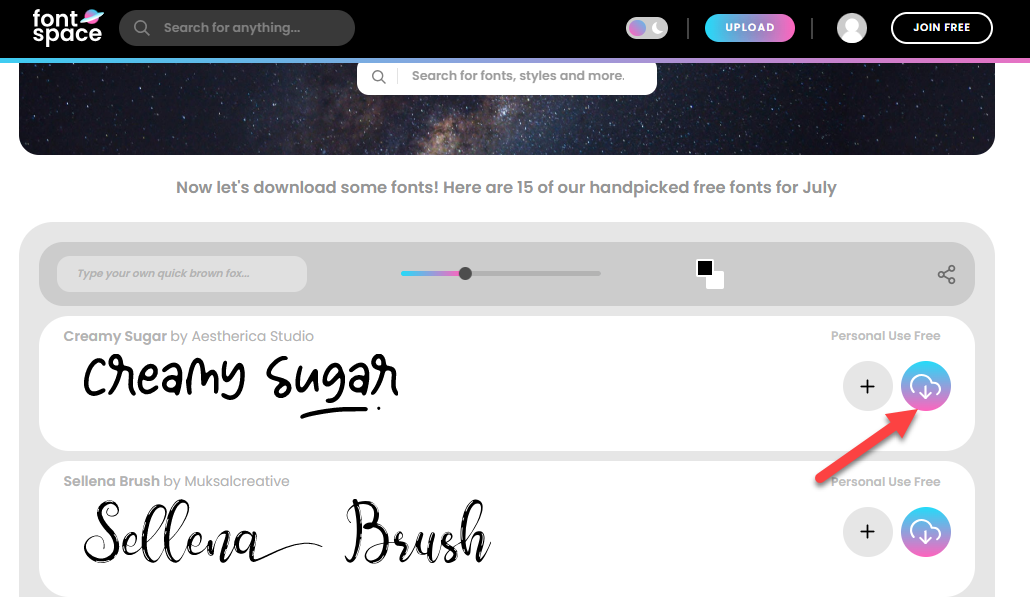
- FontSpace: FontSpace has over 32,000 free fonts shared by designers worldwide.
- Abstract Fonts: This site offers a range of fonts that you can download for free. Fonts are categorized by theme, making it easier to find a suitable style.
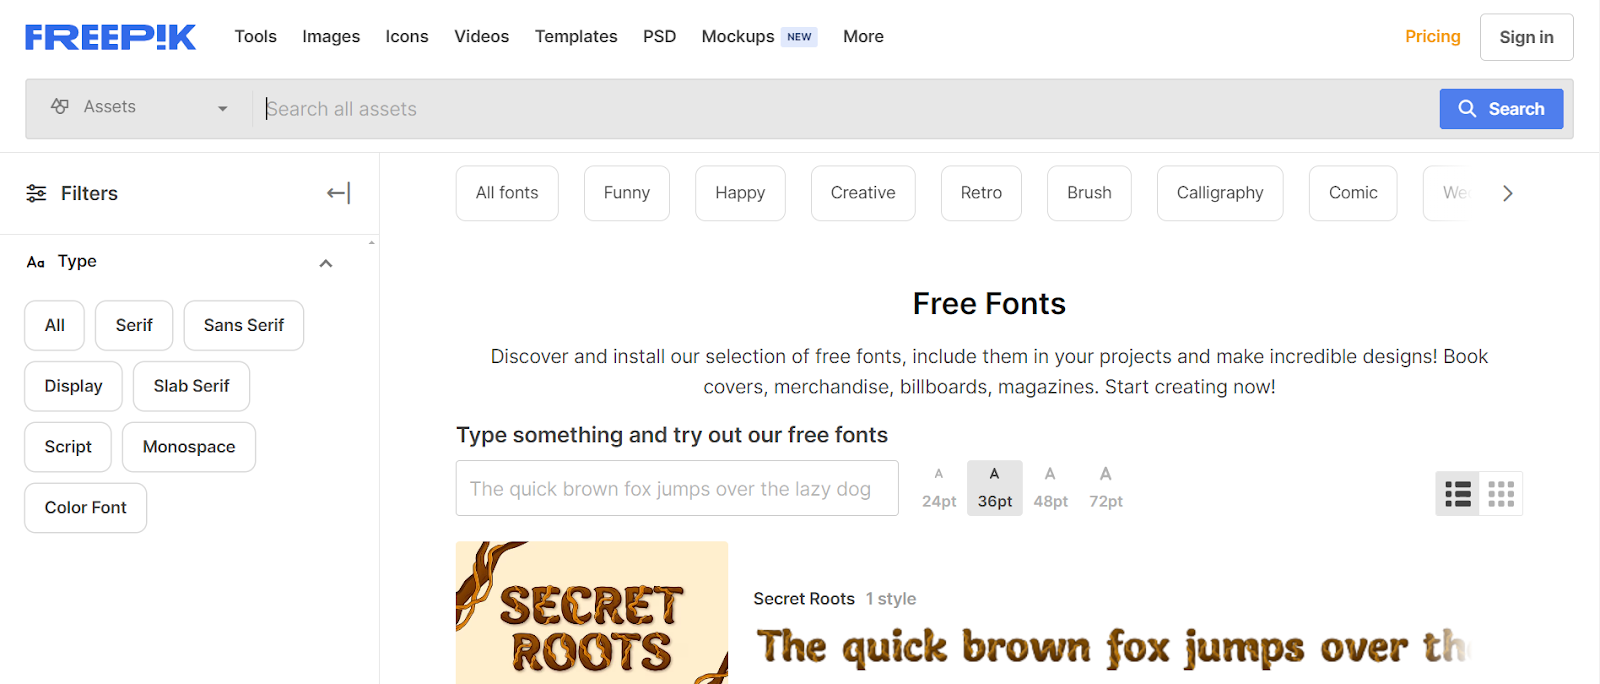
- Freepik: It’s a versatile platform offering a range of design resources, including free fonts.
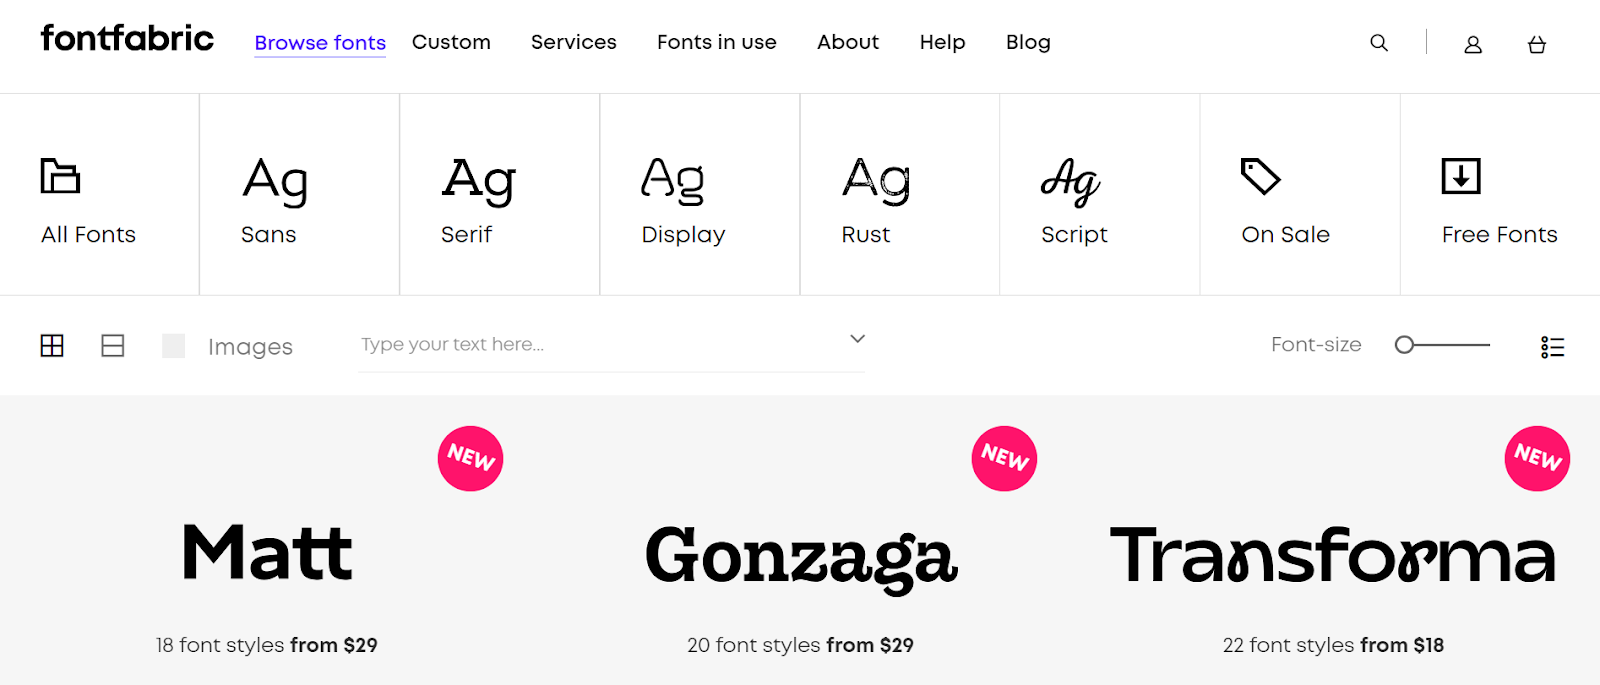
- Fontfabric: Fontfabric is a font foundry that offers high-quality, original fonts. Many fonts on this site are available for free and can be used for personal and commercial purposes.
- Fontesk: Fontesk offers a collection of free fonts, with many available for both personal and commercial use. The site features a wide variety of styles and allows users to easily browse and download fonts.

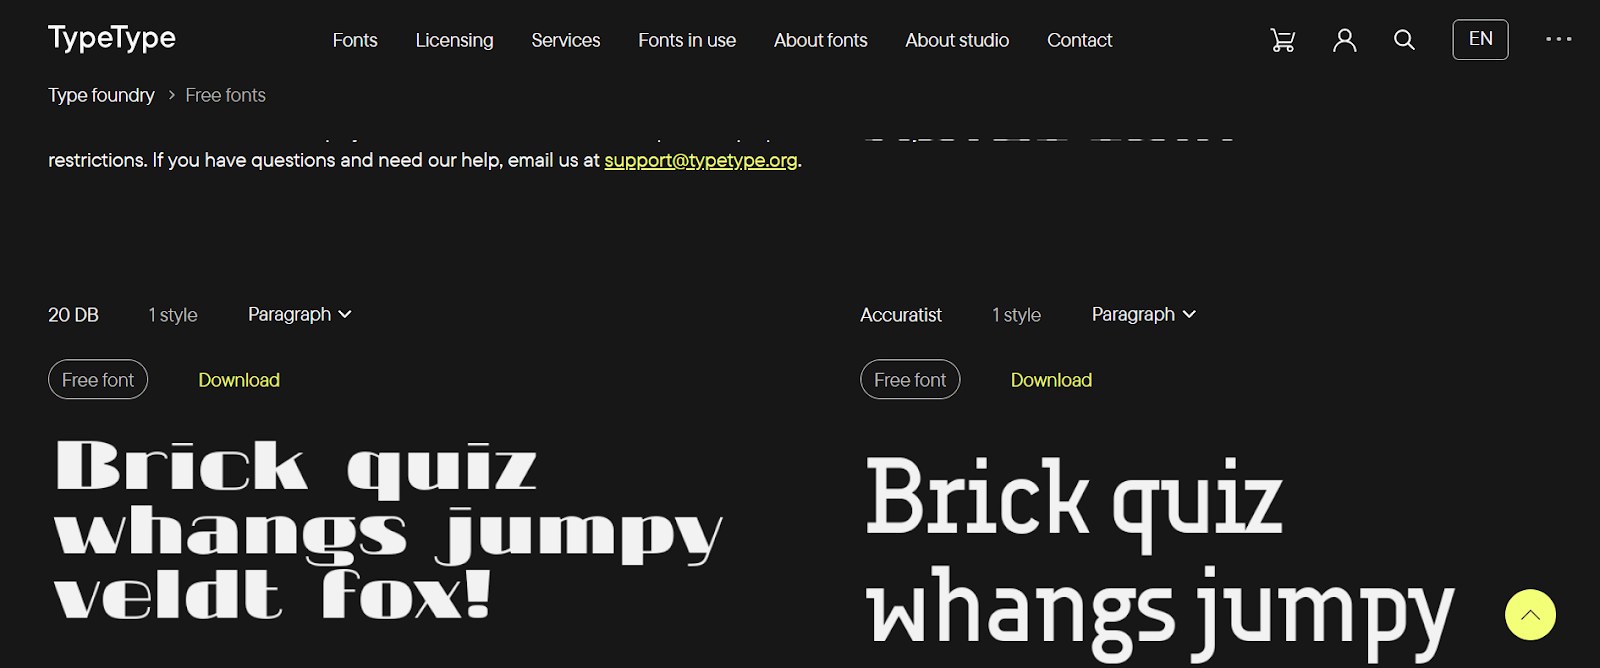
- TypeType: TypeType is a professional type foundry that provides a selection of both free and premium fonts. Many of their free fonts are high-quality and suitable for a wide range of projects, from branding to digital design.
Choosing the Appropriate Font File Format for Download
When choosing a font file format for use in WIX, it's important to understand the differences between the options available to ensure compatibility and performance. Here's a breakdown of the formats supported by WIX:
- TTF (TrueType Font):some text
- One of the oldest font formats, widely supported across different platforms and operating systems.
- Great for general desktop use but can be larger in file size compared to web-optimized formats, potentially affecting loading times.
- OTF (OpenType Font):some text
- A more modern version of TTF, OTF fonts offer additional typographic features like ligatures, alternate characters, and advanced layout options.
- Suitable for both desktop and web use but may also be larger in file size compared to WOFF formats.
- WOFF (Web Open Font Format):some text
- Designed specifically for use on the web.
- Compressed to reduce file size, which improves performance and page load times.
- Supported by most modern browsers, making it ideal for web projects like WIX.
- WOFF2 (Web Open Font Format 2):some text
- A more recent and even more compressed version of WOFF, offering better performance.
- Provides smaller file sizes compared to WOFF, improving web loading times further.
- Supported by newer browsers, ensuring fast and efficient font delivery on modern websites.
Recommendation:
- WOFF and WOFF2 are the best choices for web usage on WIX because they are optimized for performance and provide faster loading times. They are also widely supported across modern browsers.
- If WOFF or WOFF2 is unavailable for a particular font, TTF and OTF are good alternatives but might not be as performance-optimized for web use.
For seamless integration and optimal performance on WIX, prioritize using WOFF2 if available, followed by WOFF, OTF, and TTF.
How Do You Make Your Fonts Serve Your UX?
- Readability: Choose fonts that are easy to read. This is crucial for user comprehension and accessibility. Avoid overly decorative fonts for body text. Sans-serif fonts are generally preferred for digital screens.
- Consistency: Use a consistent set of fonts across your website. This helps in creating a cohesive and professional look, enhancing the overall user experience.
- Hierarchy and Emphasis: Use different font sizes, weights, and styles to create a visual hierarchy. Larger, bolder fonts can be used for headings to draw attention, while regular, smaller fonts can be used for body text.
- Responsive Design: Ensure that your fonts are legible across different devices and screen sizes. This may involve adjusting font sizes and line spacing for mobile screens.
- Color and Contrast: Pay attention to the color and contrast of your text with the background. High contrast (like black text on a white background) improves readability, which is vital for a positive user experience.
- Loading Times: Consider the impact of font loading times on your site's performance. Using too many font styles or heavy custom fonts can slow down your site, negatively affecting UX.
- Accessibility: Choose fonts that are accessible to all users, including those with dyslexia and visual impairments. Avoid fonts that are too thin or have similar shapes for different letters.
Wrapping Up
In conclusion, integrating a custom font into your Wix webpage is an efficient way to personalize and amplify your brand's identity.
This comprehensive 9-step guide simplifies the process for you, from signing in to your Wix account and selecting the relevant site to identifying the text box, editing text, accessing fonts, uploading your custom font from your computer, and confirming the successful upload.
We've also suggested reliable platforms to download free fonts and recommended compatible font file formats for Wix. With these steps at your fingertips, it's time to enhance your Wix site's appeal with your favorite fonts.
In conclusion, elevating your Wix site's design by adding custom fonts has never been easier with this simple 9-step guide—unlock a unique look for your brand today. For expert web design assistance, visit One Smart Sheep and take your site to the next level!
FAQs
How to delete an uploaded font from the Wix website?
Steps to Delete an Added Font:
- Click a text element in the Editor.
- Click Edit Text.
- Click the Fonts drop-down.
- Click Upload Fonts.
- Click the Delete icon next to the relevant font.
- Click Delete.
Can I import Fonts into Wix?
Yes, you can import your own fonts into Wix. This is done by uploading the font files in the supported formats (like TTF, OTF, WOFF) to your Wix site. Once uploaded, these custom fonts can be used across your site in various text elements.
Can I use Google fonts in Wix?
Yes, Wix supports the use of Google Fonts. Wix provides a wide range of Google Fonts that can be easily selected and applied to text on your website directly from the Wix Editor without the need for manual import.
Can I change the font on Wix?
Absolutely, you can change fonts on Wix. You can select from a variety of built-in fonts or upload your own. This is done through the text editing options in the Wix Editor, where you can choose different fonts for different text elements.
What Fonts can you use on Wix?
On Wix, you can use a variety of fonts, including a wide selection of built-in fonts provided by Wix, Google Fonts, and custom fonts that you can upload yourself. This diverse range offers extensive customization options to match your website's design and branding needs.
What fonts are used on Wix?
Wix offers a wide range of fonts from various font libraries, including Google Fonts and custom fonts uploaded by users, providing extensive options for website design.
Are Wix fonts licensed?
Yes, fonts available on Wix through its platform, including Google Fonts, are licensed for use on Wix websites. Users can also upload their own licensed fonts.
Does Wix own your content?
No, Wix does not own the content you create and upload to your website. Users retain ownership of their content, but grant Wix a license to host this content on their platform.


.svg)