


How to Edit WordPress Site (4 Simple Methods)
No one likes a simple WordPress site because the freedom to make changes to a website is one of the best things about using WordPress. That’s why today I'm going to show you EXACTLY how to edit WordPress site without writing a single line of code.
In fact, these are the same strategies I've personally used to build multiple 6-figure websites from scratch.
The best part? You don't need any technical skills to implement them.
Here are the topics we’ll cover today,
- Method #1: Using the WordPress Block Editor
- Method #2: Customizing with the Site Editor
- Method #3: Using the Theme Customizer
- Method #4: Page Builder Plugins
- Methods Comparison Table
With that said, let’s go over each of the of the method one at a time.
Method #1: The WordPress Block Editor (Gutenberg) - My Go-To Tool
Let me be clear:
If you want to know how to edit WordPress site content quickly, the Block Editor is your best friend.
How to Access the Block Editor:
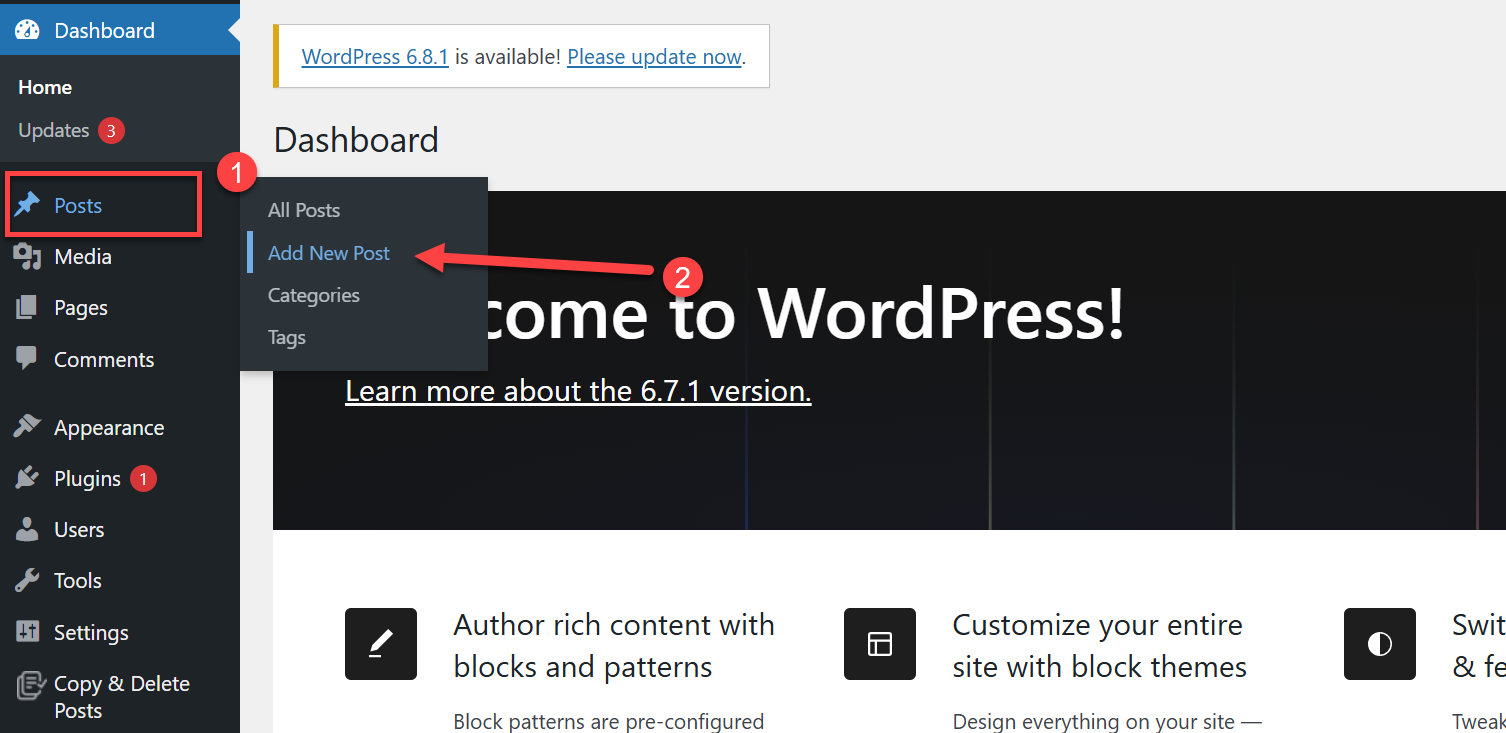
- Log into your WordPress dashboard
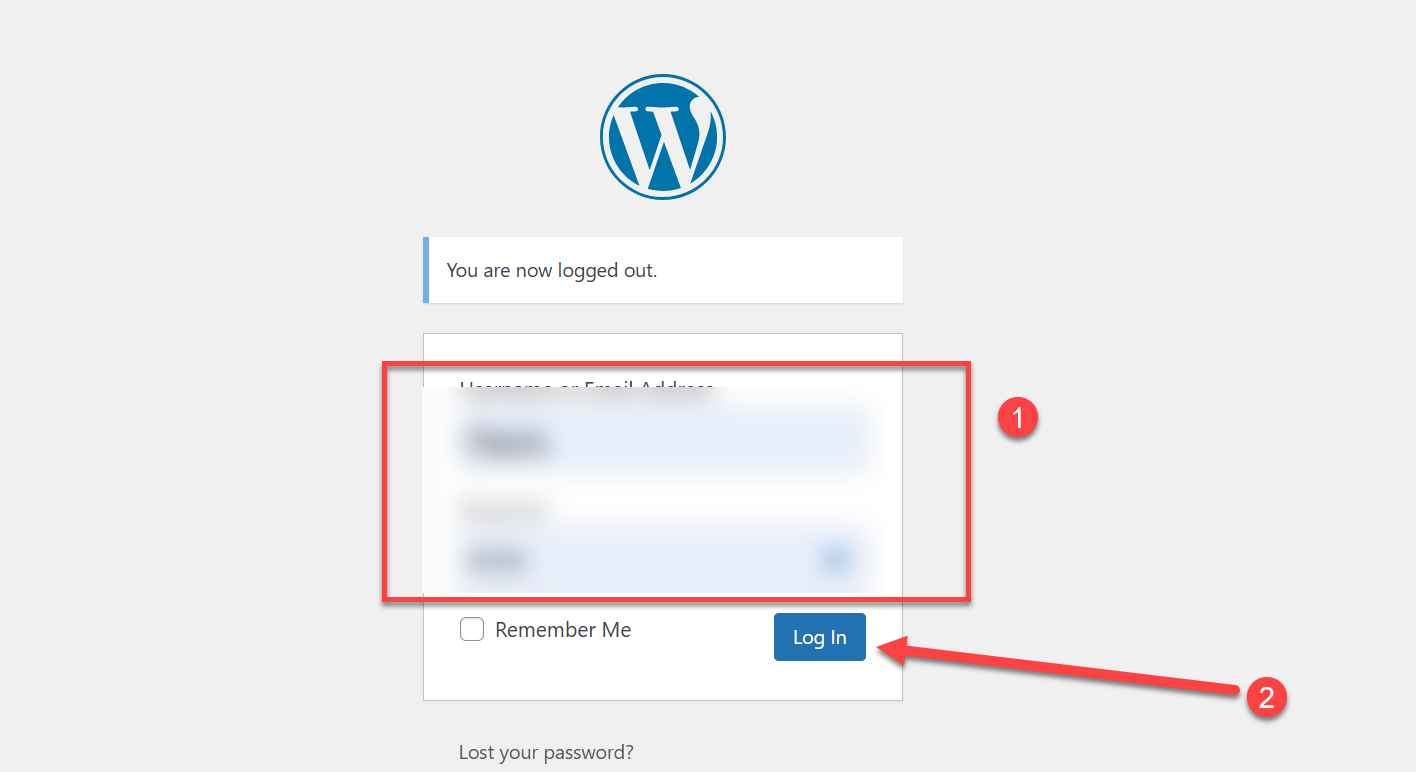
- For a new page: Go to Pages → Add New.

- For a new post: Go to Posts → Add New.
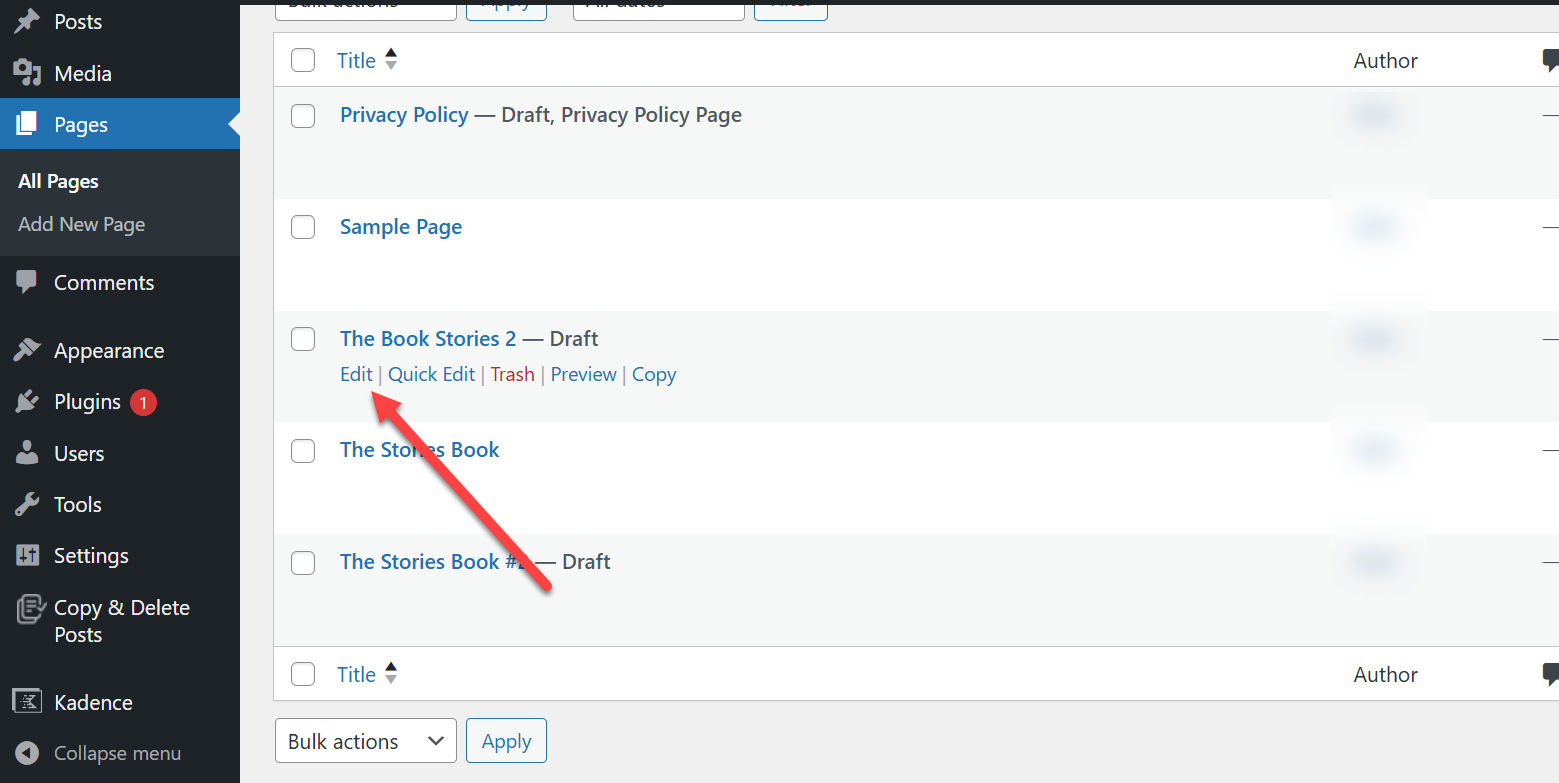
- For existing content: Find the page/post and click Edit.
Pro Tip: Use the "Quick Edit" option when you just need to make minor changes to a title or slug.
Working with Blocks (The Fun Part)
Here's how easy it is to add new content:
- Click the "+" icon in the top-left corner

- OR click the "+" icon that appears between existing blocks
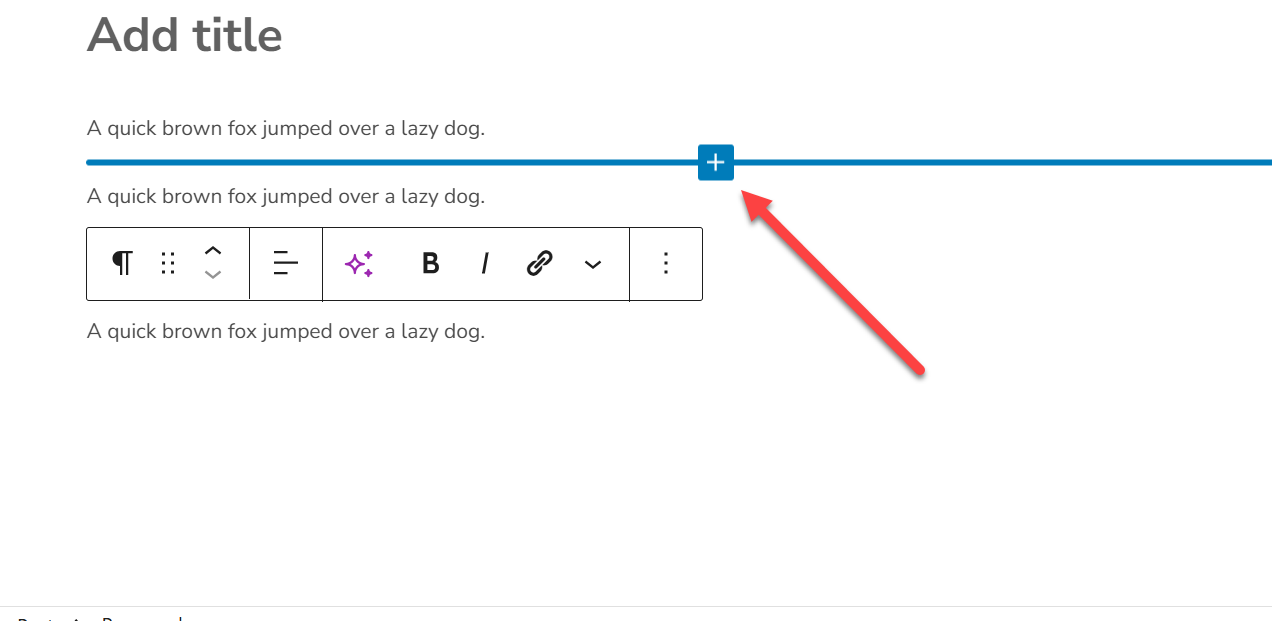
- OR use the "/" command followed by the block name (my favorite speed hack!)
// DEVELOPER NOTE: Add this JS to create a tooltip that appears when users hover over the + icon
document.addEventListener('DOMContentLoaded', function() {
const plusIcons = document.querySelectorAll('.block-editor-inserter__toggle');
plusIcons.forEach(icon => {
icon.addEventListener('mouseover', function() {
const tooltip = document.createElement('div');
tooltip.classList.add('custom-tooltip');
tooltip.innerText = 'Click to add a new block';
document.body.appendChild(tooltip);
const rect = this.getBoundingClientRect();
tooltip.style.top = rect.bottom + 10 + 'px';
tooltip.style.left = rect.left + 'px';
});
icon.addEventListener('mouseout', function() {
const tooltip = document.querySelector('.custom-tooltip');
if (tooltip) tooltip.remove();
});
});
});
The Block Editor gives you a MASSIVE range of content blocks to choose from:
- Paragraph blocks for normal text
- Heading blocks (H1-H6) for titles and subtitles
- Image blocks for photos and graphics
- Video blocks for YouTube embeds or uploaded videos
- Button blocks for call-to-action buttons
- And dozens more!
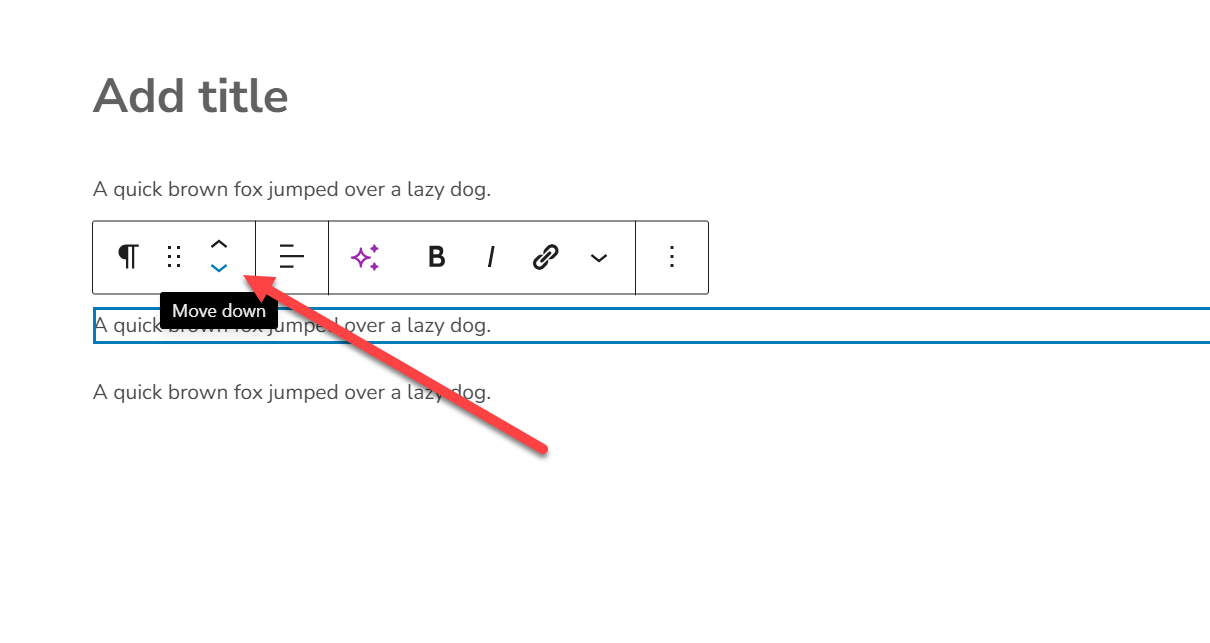
Moving Blocks Around (Drag-and-Drop Magic)
Want to know how to edit WordPress site layout easily? Just drag and drop!
You have two super simple options:
- Click and hold a block, then drag it where you want

- Use the up/down arrows in the block toolbar for precise movement
BONUS TIP: For complex pages with tons of content, use the "List View" button in the top toolbar. It gives you a bird's-eye view of all your blocks.
Customizing Your Blocks
Here's where the magic happens:
When you select any block, you'll see:
- A toolbar directly above/below the block
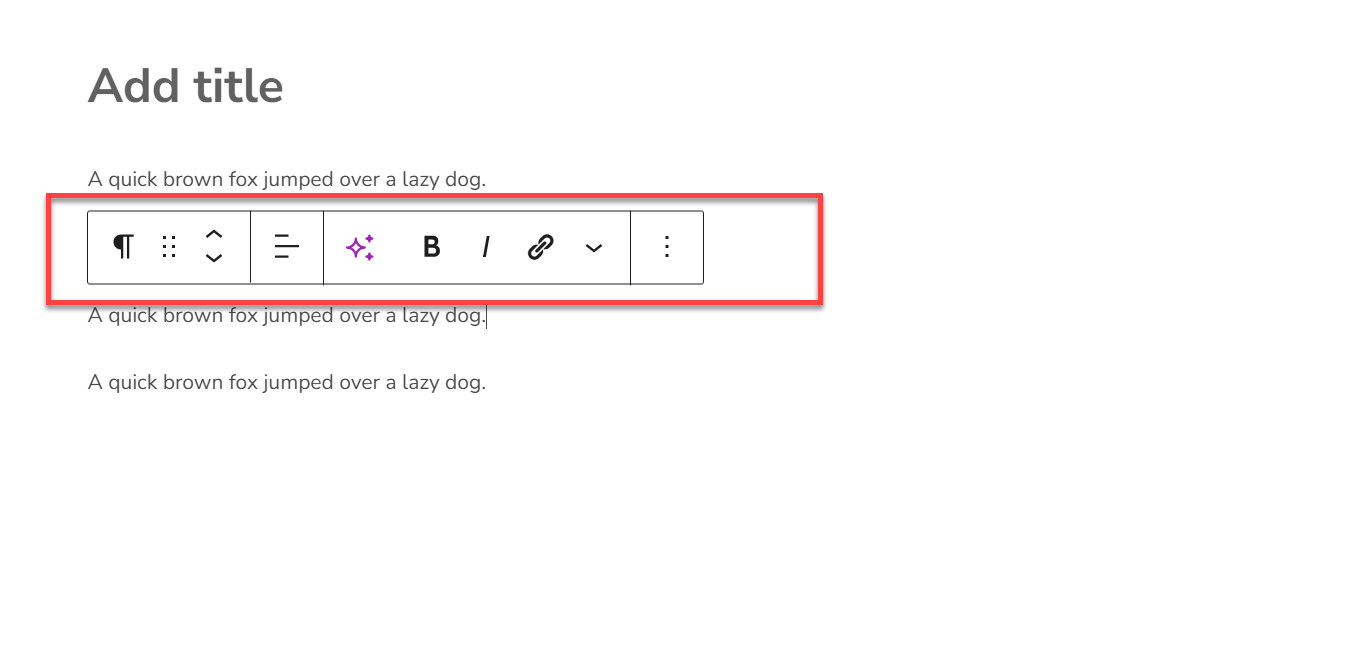
- A settings sidebar on the right side of your screen
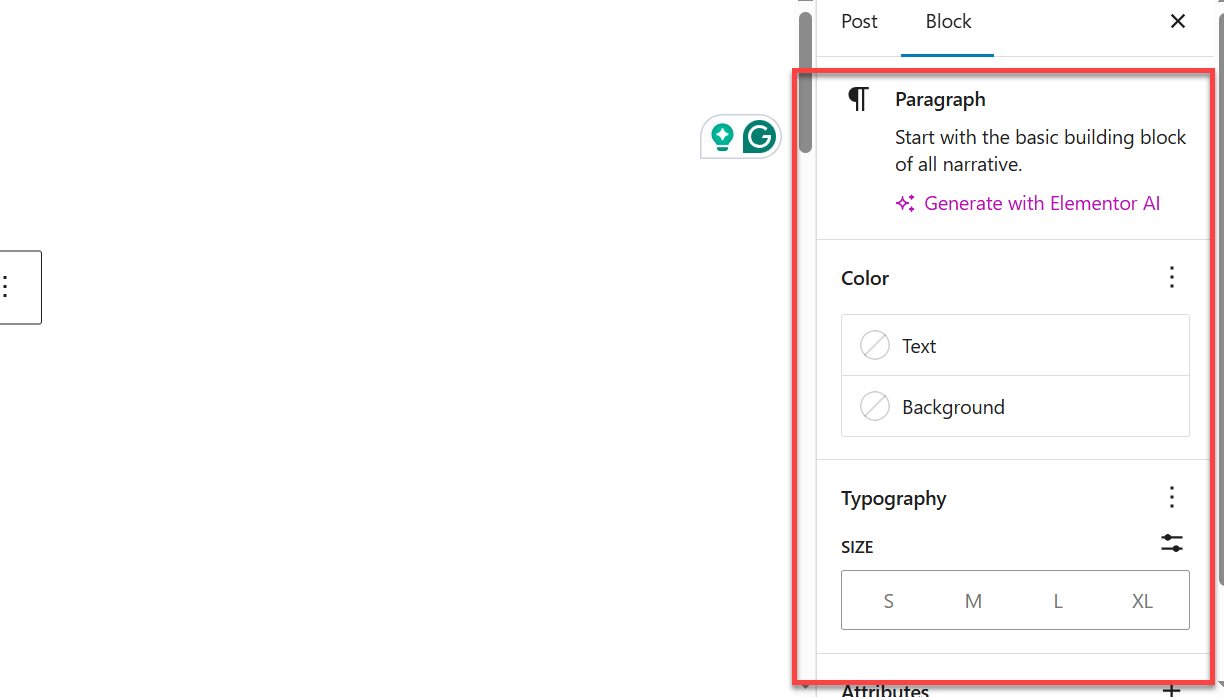
These give you control over:
- Text formatting (bold, italic, links)
- Colors (text and background)
- Sizing and spacing
- Block-specific settings
The best part? All these changes happen in real-time so you can see exactly how your content will look.
Method #2: The Site Editor - For Total Design Control
If you're wondering how to edit WordPress site beyond just content, the Site Editor is your answer.
Important note: This tool only works with block themes. To check if you have one, look for "Editor" under "Appearance" in your dashboard.

What Can You Do With the Site Editor?
Let me break it down:
- Global Styles: Change fonts, colors, and layouts across your ENTIRE site with a few clicks
- Templates: Edit the structure of different page types (homepage, blog posts, etc.)
- Template Parts: Customize headers, footers, and other reusable sections
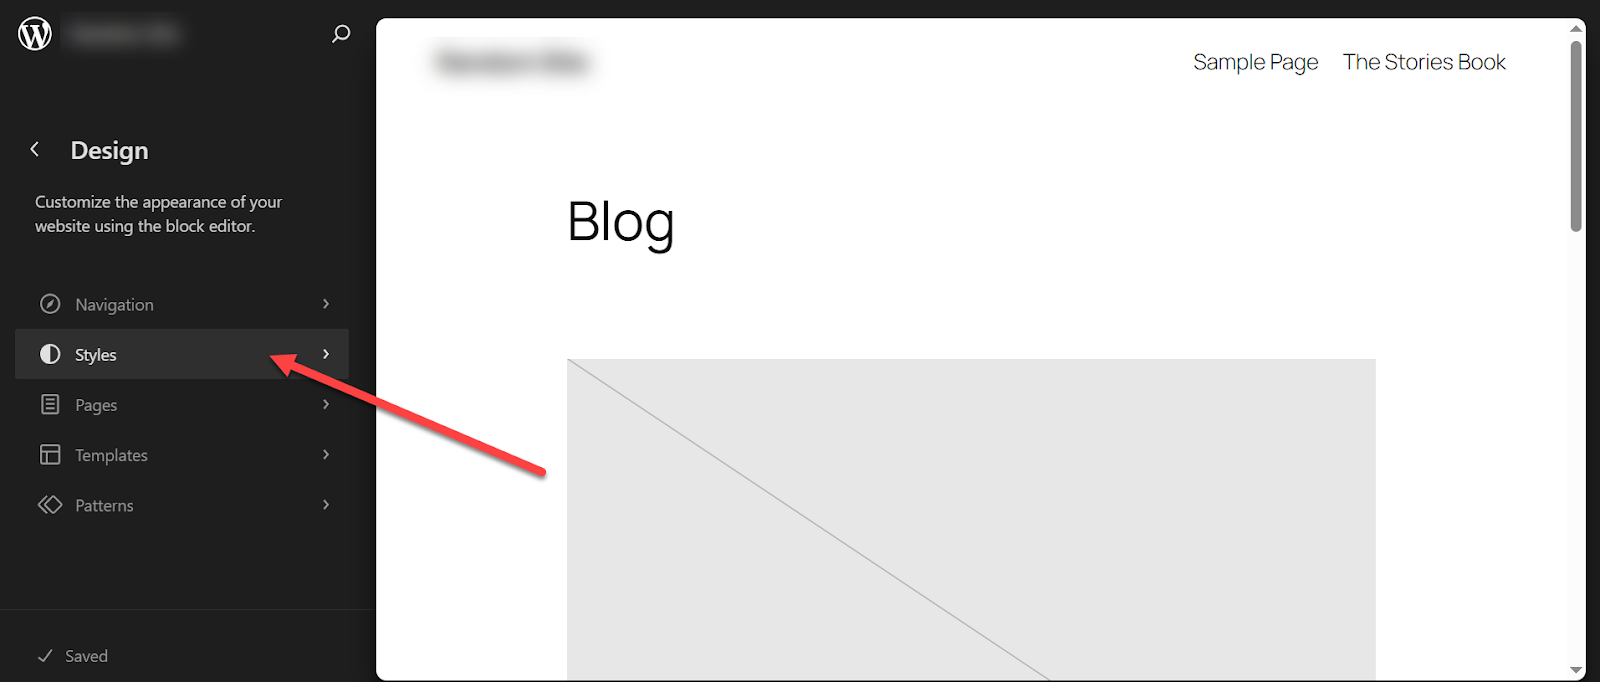
How to Use Global Styles (My Favorite Feature)
To access Global Styles:
- Open the Site Editor (Appearance → Editor)
- Click "Styles" in the left sidebar
From there, you can customize:
Typography: Want to change ALL your headings at once? This is where you do it.
- Font family
- Font size
- Line height
- Font weight
Colors: Create a consistent brand look with:
- Text colors
- Background colors
- Link colors
- Button colors
Layout: Control the overall structure with:
- Content width
- Padding settings
- Spacing between elements
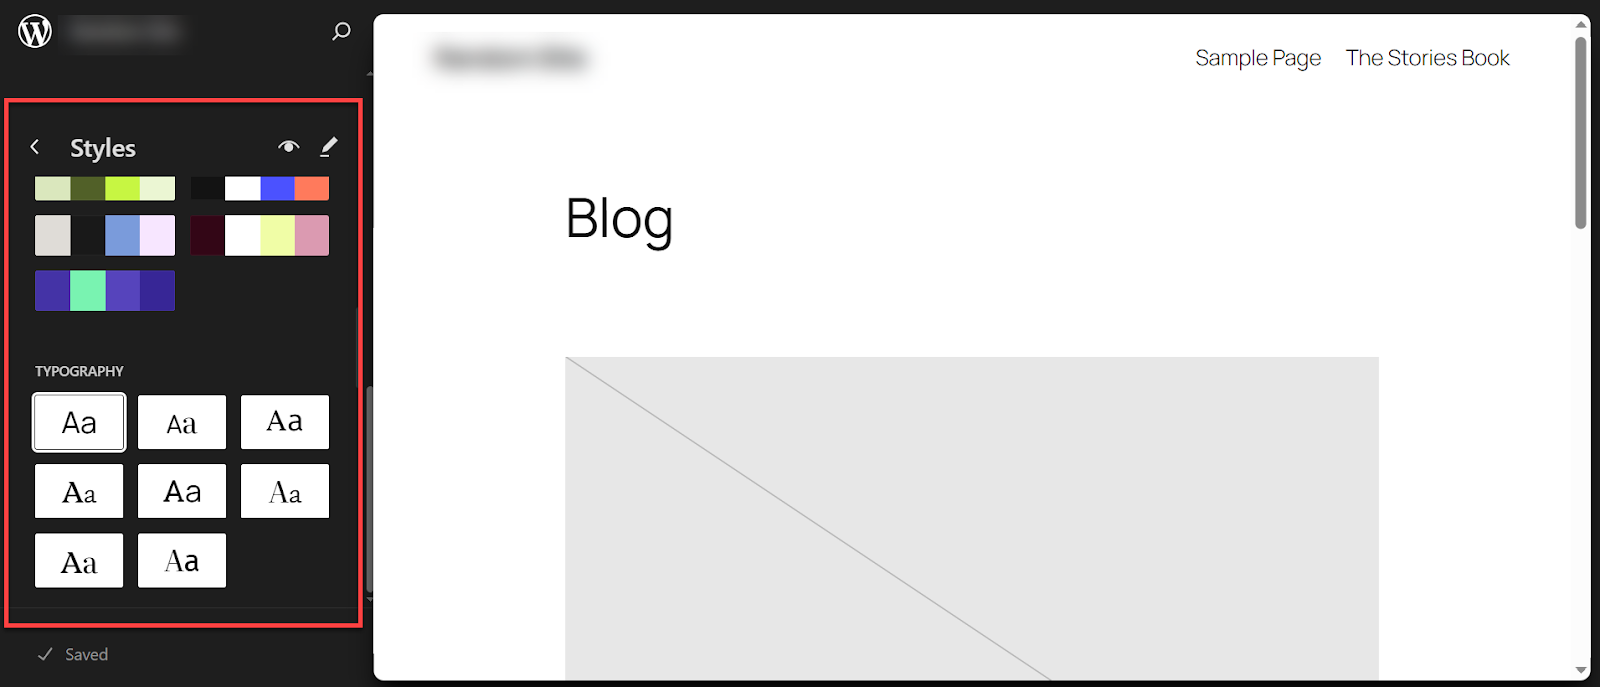
Quick Tip: Look for the "Style Book" option (usually an eye icon). It shows you a preview of how your style changes affect different content types.
Customizing Templates and Template Parts
This is where you can REALLY make your site stand out:
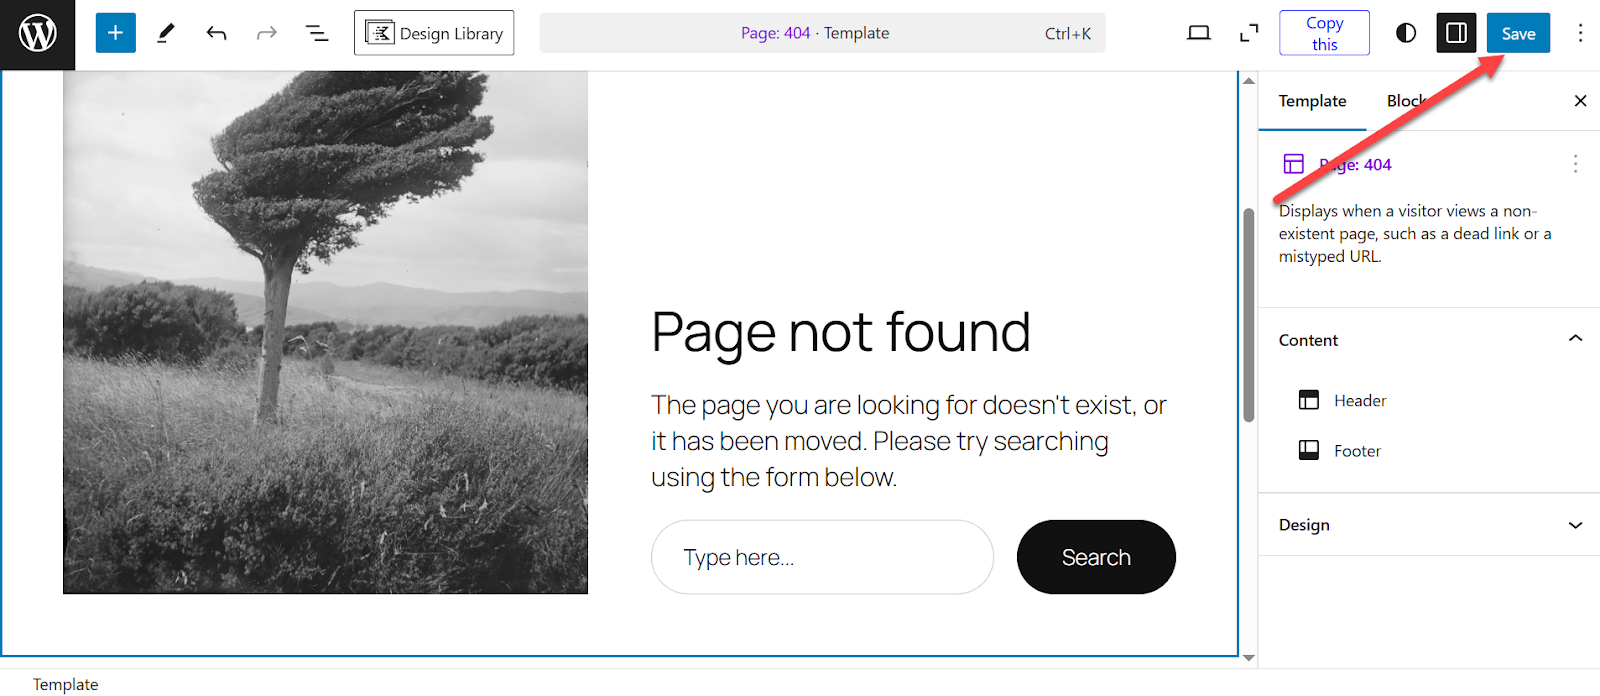
- In the Site Editor, find the "Templates" section

- Choose a template to edit (like "Single Post" or "Homepage")
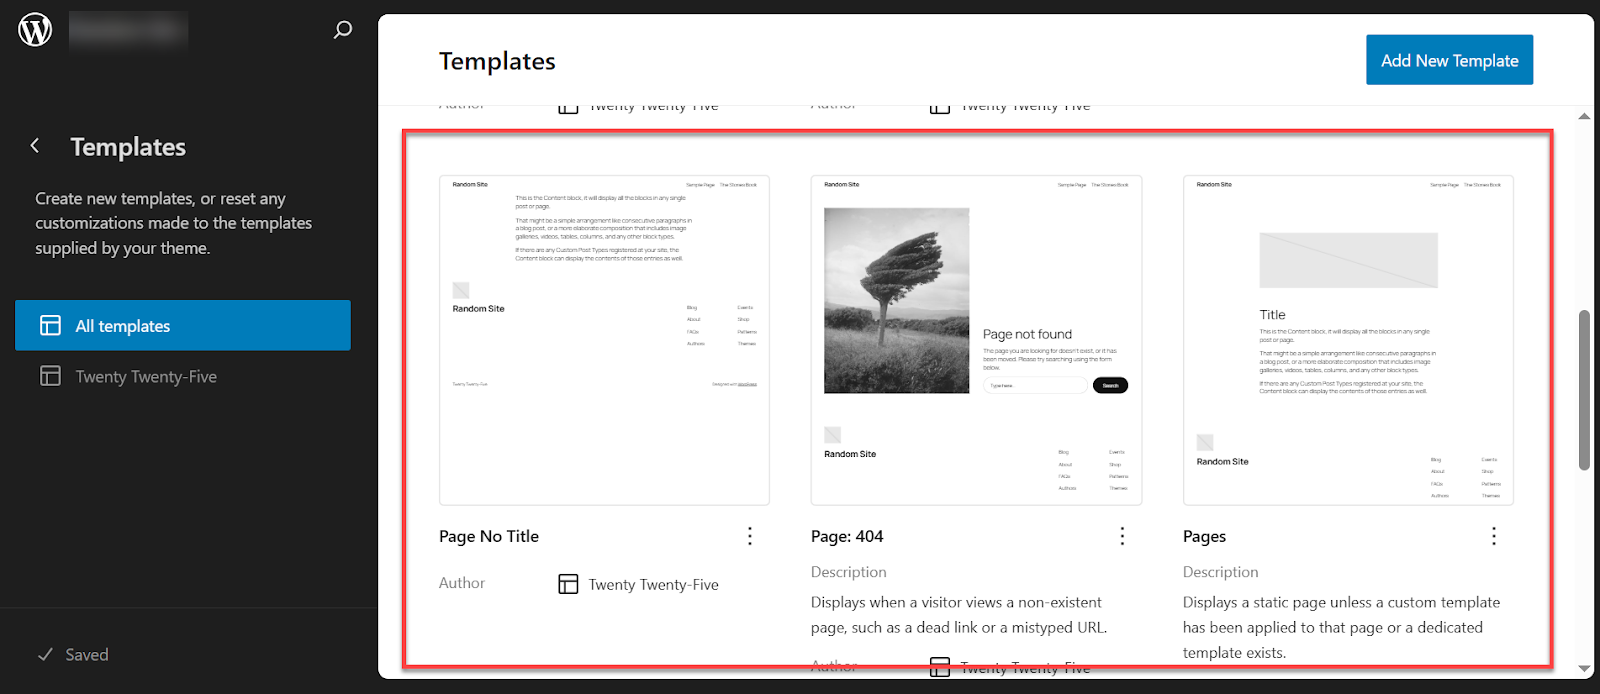
- Make changes to the layout and content blocks

- Save your changes
For headers and footers:
- Look for "Template Parts" in the Site Editor
- Select the part you want to customize
- Edit the blocks within that part
- Save your changes
Pro Tip: Changes to templates affect ALL pages using that template. So edit carefully!
Method #3: Theme Customizer - For Classic Themes
If you're using a classic theme, learning how to edit WordPress site appearance means mastering the Theme Customizer.
To access it:
- Go to Appearance → Customize in your dashboard

Note: You can also click the "Customize" link in the admin bar when viewing your site
What You Can Customize
The exact options vary by theme, but you'll typically find these sections:
Site Identity
- Logo upload
- Site title and tagline
- Site icon (favicon)
Colors & Backgrounds
- Primary color scheme
- Background color or image
Typography (in some themes)
- Font family selection
- Font size adjustments
Menus
- Create and edit navigation menus
- Place menus in different locations
Widgets
- Add content blocks to sidebars and footers
Homepage Settings
- Choose between latest posts or a static page
Quick Tip: Look for pencil icons in the live preview. Clicking them takes you directly to the related settings.
The BEST Feature of the Customizer
Unlike some editing tools, the Theme Customizer shows you a live preview of your changes before you publish them.
This means you can experiment with different options without worrying about messing up your live site.
When you're happy with your changes, you can:
- Click "Publish" to make them live immediately
- Save as a draft to finish later
- Schedule the changes for a future date/time
Method #4: Page Builder Plugins - For Ultimate Flexibility
If you're serious about how to edit WordPress site designs with maximum control, page builder plugins are a game-changer.
Top Page Builders Worth Trying
I've tested dozens of page builders, and these are my top picks:
- Elementor
- Massive widget library
- Intuitive interface
- Great free version available
- Beaver Builder
- Super reliable and stable
- Clean code output
- Excellent for client sites
- Divi
- Beautiful pre-made designs
- Advanced visual effects
- Lifetime pricing option
- SeedProd
- Lightning fast
- Landing page focused
- Great for conversion optimization
- Thrive Architect
- Marketing-focused elements
- Conversion optimization tools
- Integrated with Thrive Suite
WordPress Editing Methods Comparison
Here's a quick comparison table to help you decide which method to use:

My Recommendation:
- For everyday content updates: Block Editor
- For site-wide design changes with a block theme: Site Editor
- For site-wide design changes with a classic theme: Theme Customizer
- For creating visually complex layouts: Page Builder
Now It's Your Turn to Master How to Edit WordPress Site
I've shown you four powerful ways to edit WordPress sites without touching a line of code.
The bottom line: WordPress has evolved to be incredibly user-friendly, no matter what your technical skill level is.
Here's what to do next:
- Start small - Try updating a single page using the Block Editor
- Experiment - Create a test page to try different layouts
- Back up - Always back up your site before making major changes
- Learn more - Visit One Smart Sheep for in-depth WordPress tutorials
Speaking of which...
Want to Become a WordPress Pro? Visit One Smart Sheep!
If you've enjoyed learning how to edit WordPress site basics, you'll LOVE what One Smart Sheep has to offer.
They provide amazingly detailed guides on:
- WordPress security hardening
- Speed optimization techniques
- SEO best practices
- E-commerce setup
- And much more!
Check out One Smart Sheep today for all your WordPress learning needs. Plus, if you want to learn how to migrate from Weebly to WordPress, we’ve got you covered.


.svg)