


Do you want to put your WordPress maintenance mode without a plugin?
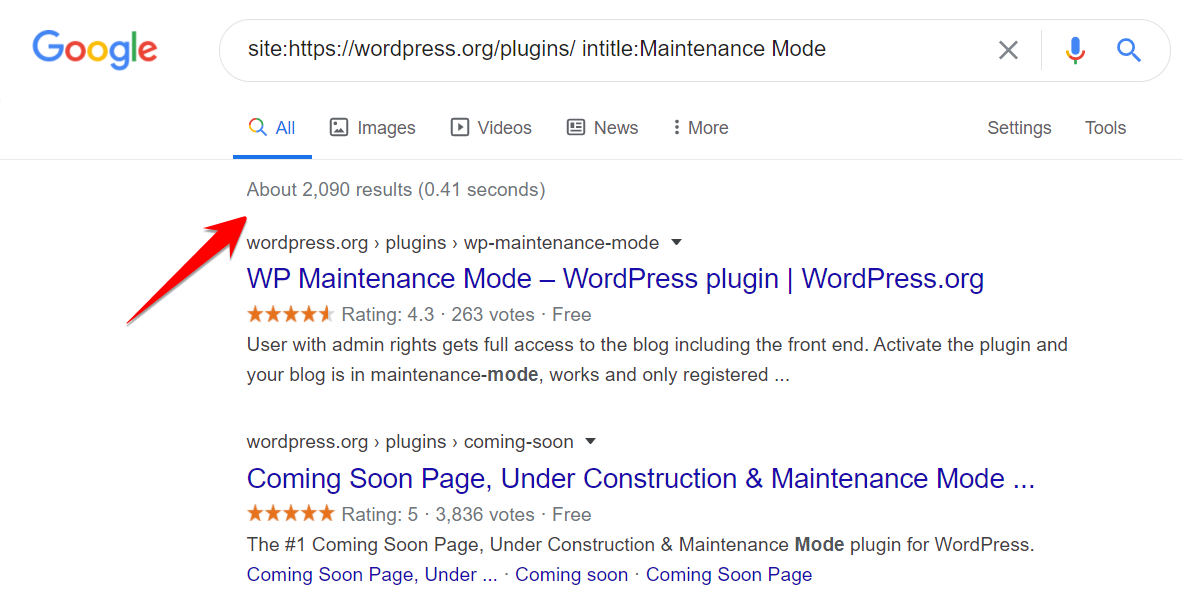
Four traditional methods have been depicted in this blog, but I have also included one unique method that is only known to a few people, Cloudflare Edgy. Not sure what it is? Please continue reading. Do you know? Over 2,000 maintenance mode plugins are available for WordPress, which is shocking. Most websites are hacked through plugins, so you are recommended not to use them.
In this guide, you'll learn:
- What is WordPress maintenance mode?
- Why activate WordPress maintenance mode without a plugin?
- 5 ways to put your WordPress site in maintenance mode

What Is WordPress Maintenance Mode?
WordPress is an excellent platform for building websites, but even the best software needs maintenance. That's where WordPress maintenance mode comes in.WordPress Maintenance Mode refers to the webmaster repairing, servicing, and fixing the WordPress website. The webmaster uses it to inform visitors that he or she is working on the site.
In addition, it provides an estimation of when the site will go live.Furthermore, maintenance mode has a server status of 503, which indicates that the server is currently unable to handle the request due to temporary overloading or maintenance.
Why Activate WordPress Maintenance Mode Without a Plugin?
One of the most common ways that WordPress websites are hacked is by attackers exploiting vulnerabilities in plugins or themes. By putting your WordPress site into maintenance mode without a plugin, you can reduce the risk of being hacked by making it more difficult for attackers to access your site.

Hackers have sometimes exploited vulnerabilities in maintenance mode plugins to access websites. This can be a severe security issue, as maintenance mode is supposed to be a way to secure a site while it's being updated.

Hackers exploit the majority of vulnerabilities in plugins because they are not frequently updated. Generally, hackers do not attempt to discover vulnerabilities within the core of WordPress; rather, they focus on plugins and themes since these are easier to attack. As a result of the above reasons, I strongly recommend that you should enable WordPress maintenance mode without the use of a plugin because of this reason.
How to Put Your WordPress Site in Maintenance Mode
Let me explain the three methods in detail so that you can easily put them into practice:
1. Hardest Way - .htaccess
This method creates a simple HTML file that loads when a user visits your site.It looks like this:
You can also download the maintenance HTML file for free as shown above from here.
Otherwise, you can copy and paste the below code to make your maintenance HTML file.Upload in the root directory of your website.Once you've uploaded it, paste the following code into your access.
2. Easiest Way - Function.php
Function.php is a very user-friendly file since it doesn't require any complex work on your part.Go to Appearance and click Theme Editor.
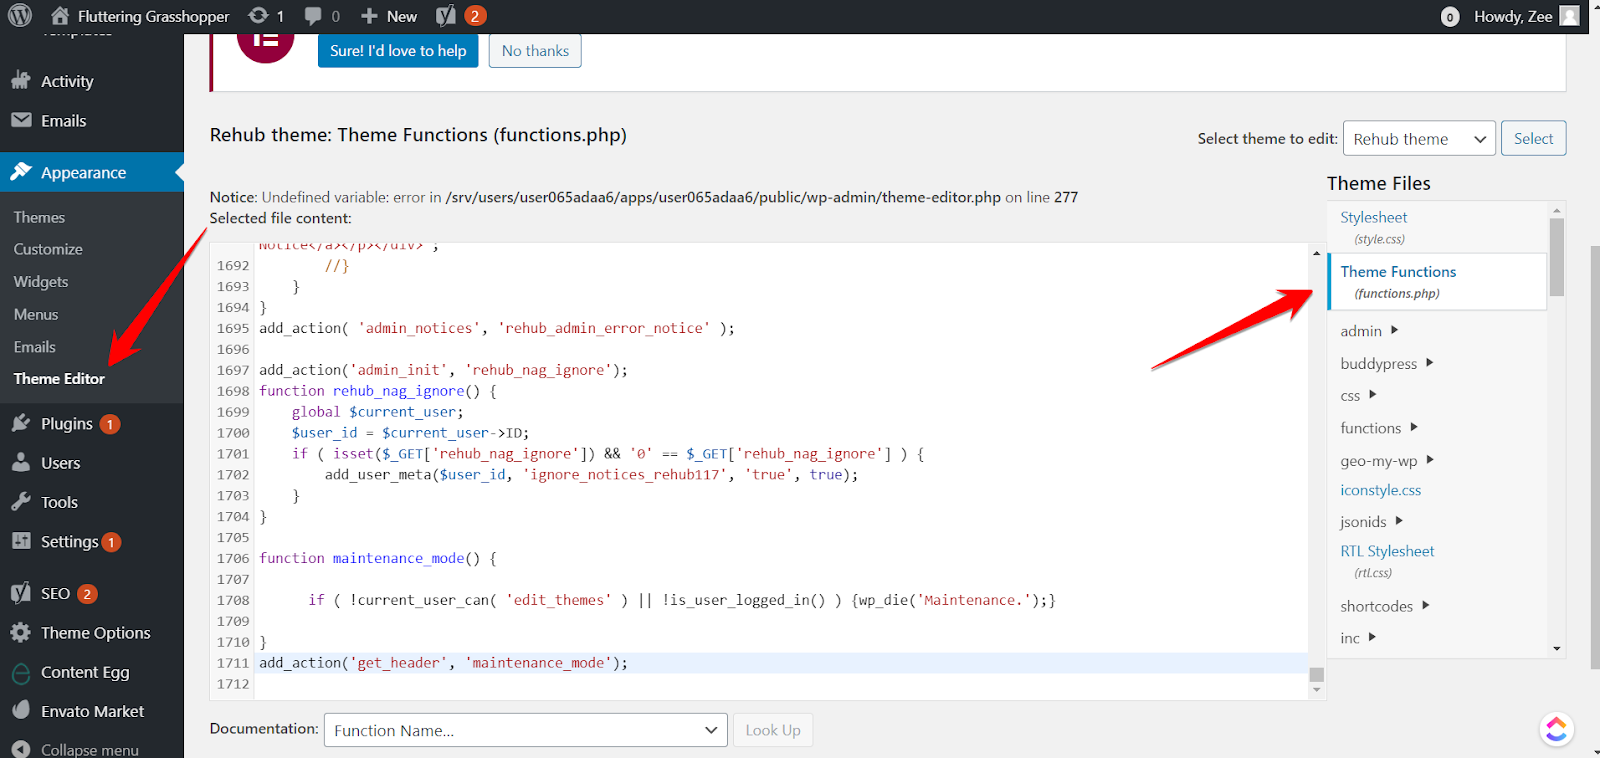
Paste the code at the bottom of the file.It looks like this:

Note:If your theme consists of parent and child themes, you have to paste it into the child's theme function.You can type any message that will appear to the users upon visiting any page on your blog.
3. Easy Way - Cloudflare Edge App
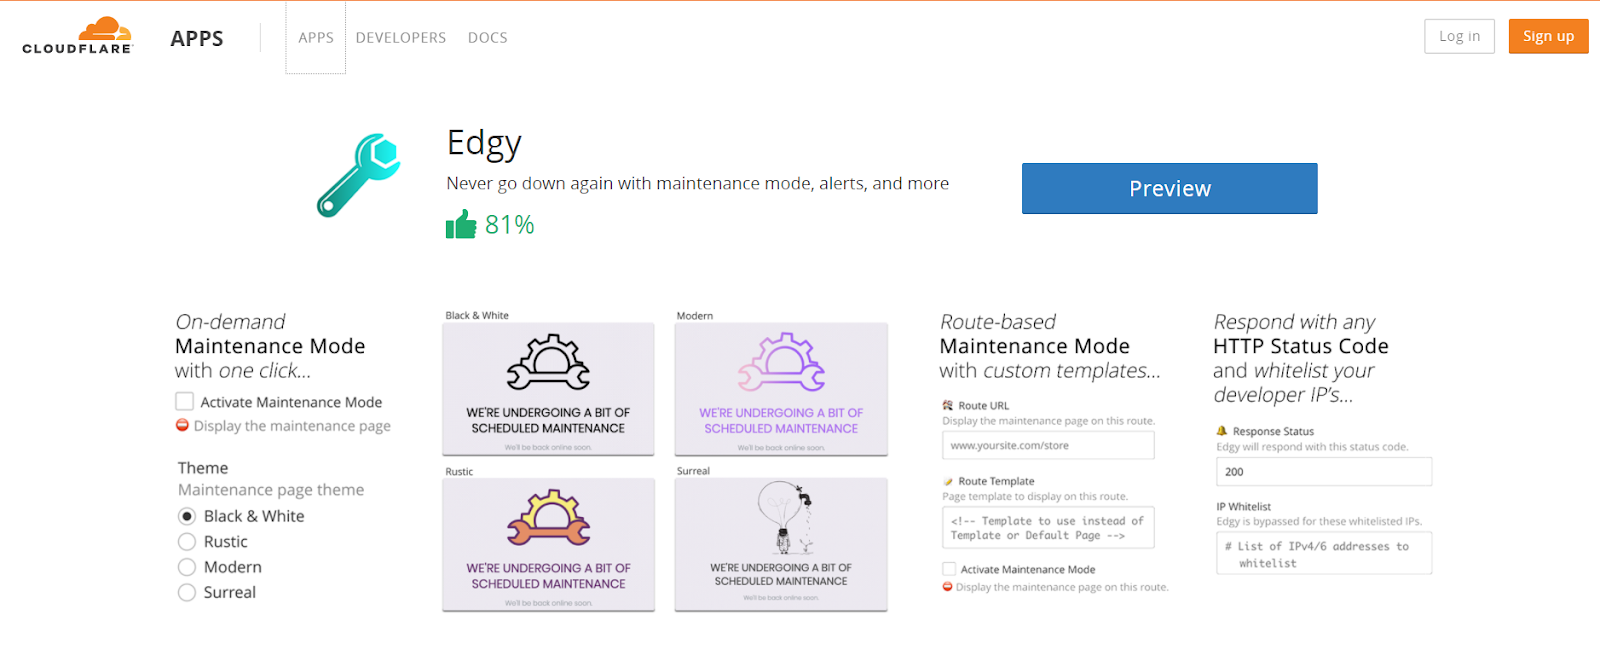
Cloudflare is a popular content delivery network (CDN), but it offers much more than that. It provides a variety of applications that can help improve your website's security, performance, and reliability. So whether you're looking for improved security, faster page loading times, or better reliability, Cloudflare has an app for you.Go to Cloudflare Apps and explore apps you can use without slowing down your server.

Find the Edgy app that can be used to put our website in maintenance mode.
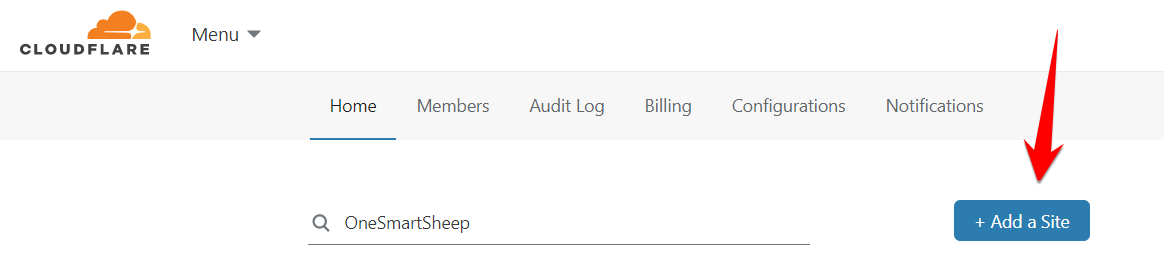
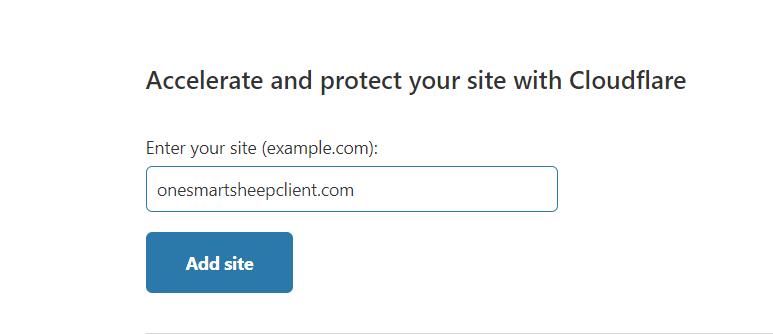
It's crucial to install Cloudflare on your WordPress site so that Edgy can work.Is Cloudflare not installed? Sign in to Cloudflare and click to +Add a Site
Enter your domain name in the box below. Be sure to check spelling and spacing before hitting enter. Once you have typed in your domain name, hit the Enter key.
You can select the free plan if you'd like. This is an excellent option for those who are on a budget. If you need more features, we have paid plans available as well.

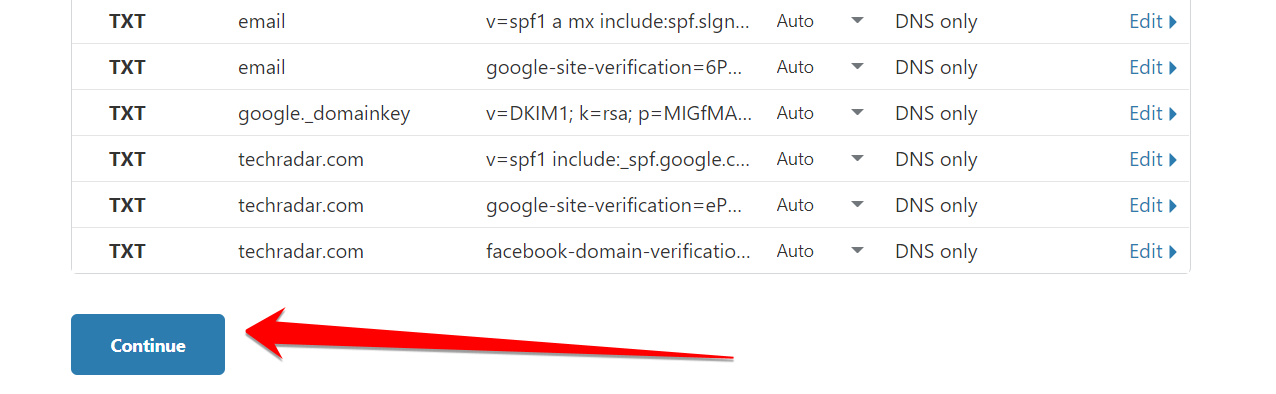
Your DNS records will be scanned and captured by Cloudflare. Click Continue.
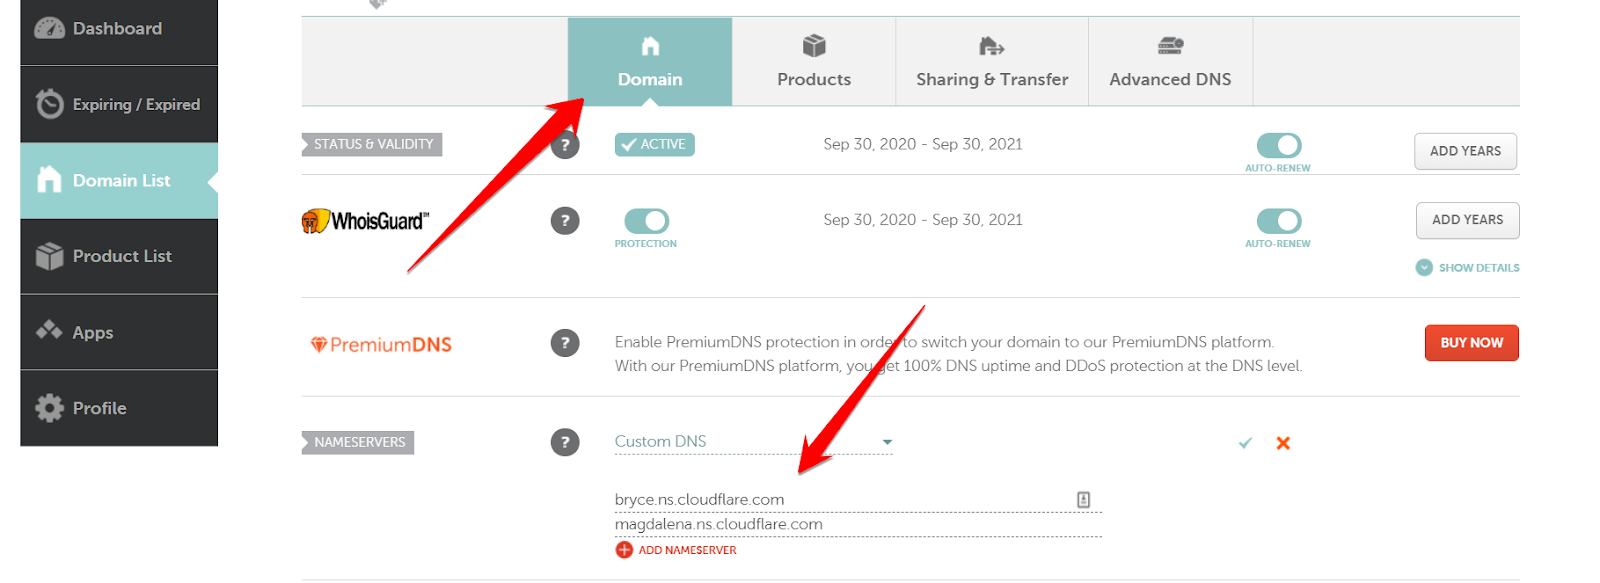
We recommend that you change your nameservers to Cloudflare.

To change the nameservers, log in to your domain registrar, and find the name servers field. Change the nameservers found on your old hosting provider to the Cloudflare nameservers.
Don't worry; your website will not face any downtime since Cloudflare has received your DNS records.Wait a few minutes until your website runs on Cloudflare.Once activated, go to the Apps section and search for Edgy.

Click on Preview on your site.

Now enter your email address; not crucial to be true :)

Scroll down a little; you’ll see Activate Maintenance Mode. Please enable it and save the changes.
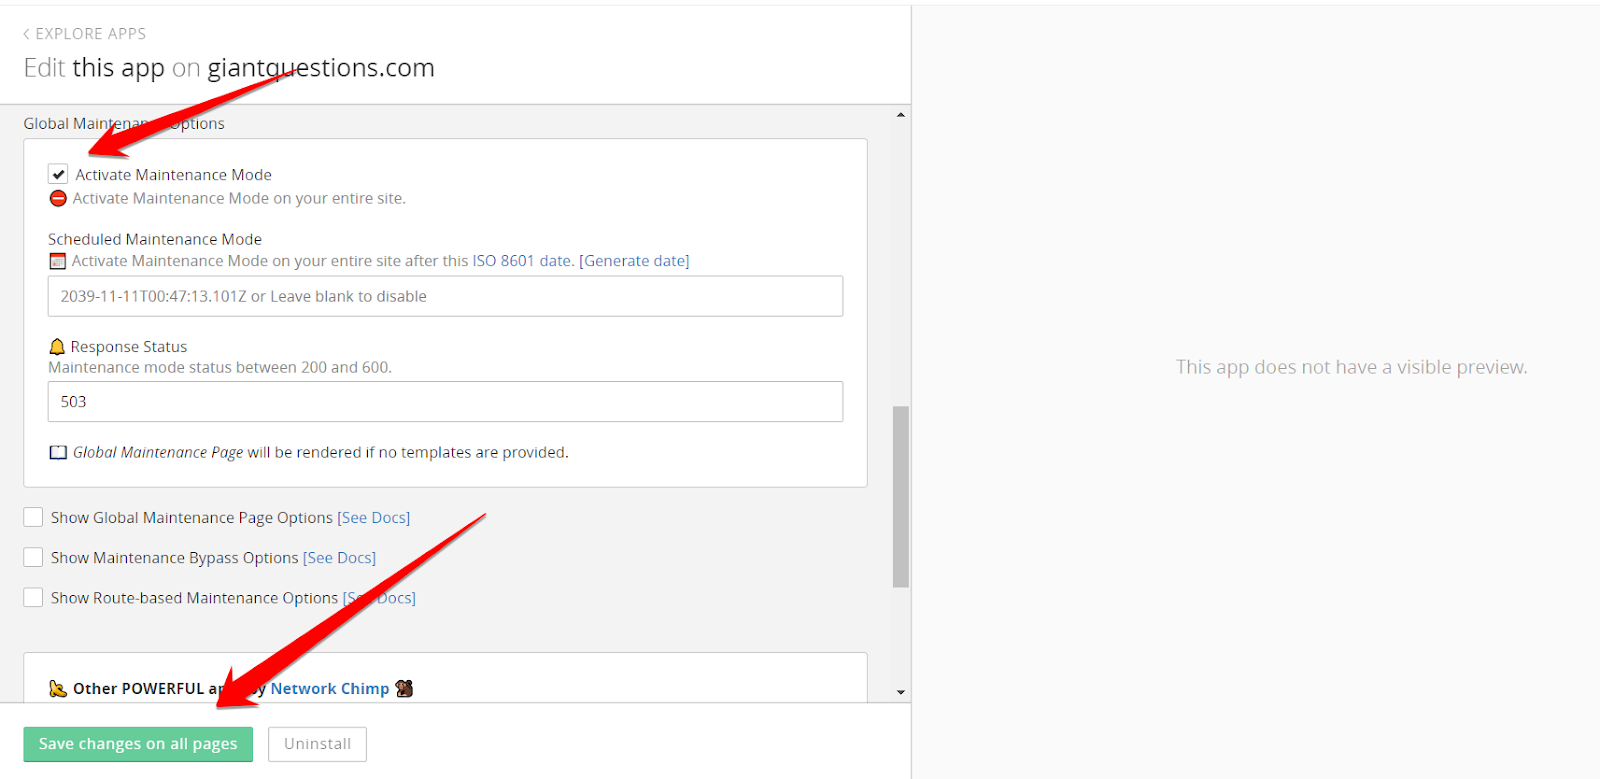
It will show the maintenance page like this:

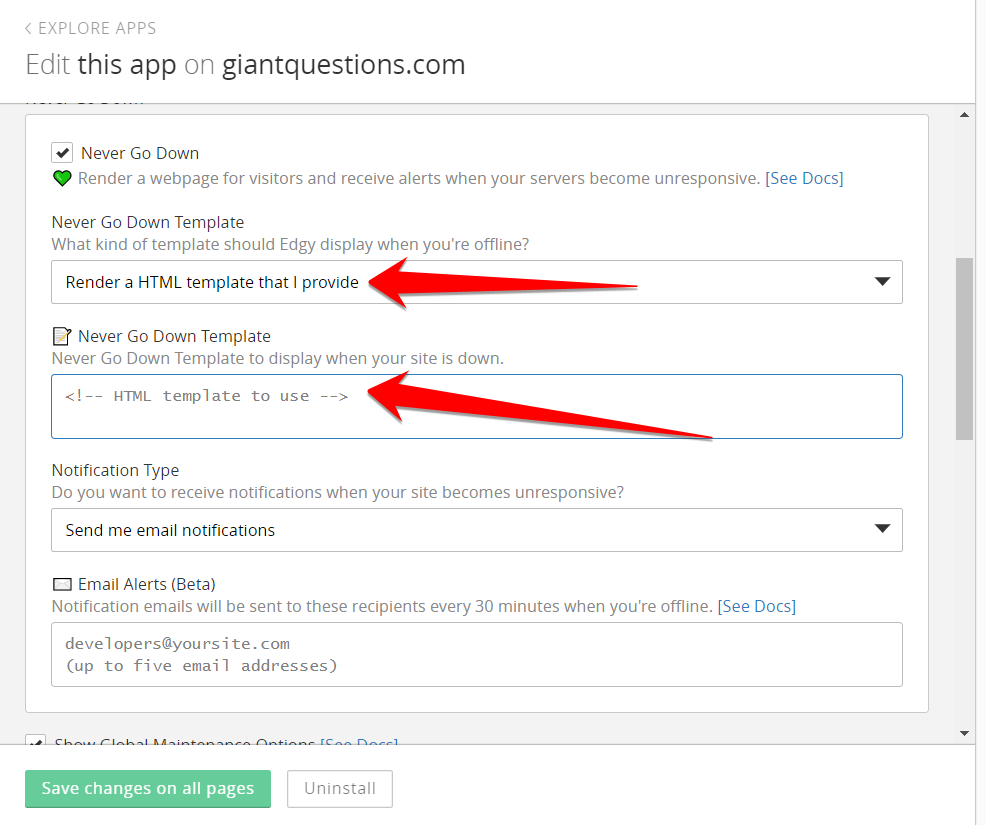
You can create your custom maintenance page if you're not conformable to the above maintenance page.You can add your HTML code as well in the Edgy app.Select the option “Render an HTML template that I provide” and paste the HTML code.
4. Effortless Method - Using a Maintenance Mode Theme
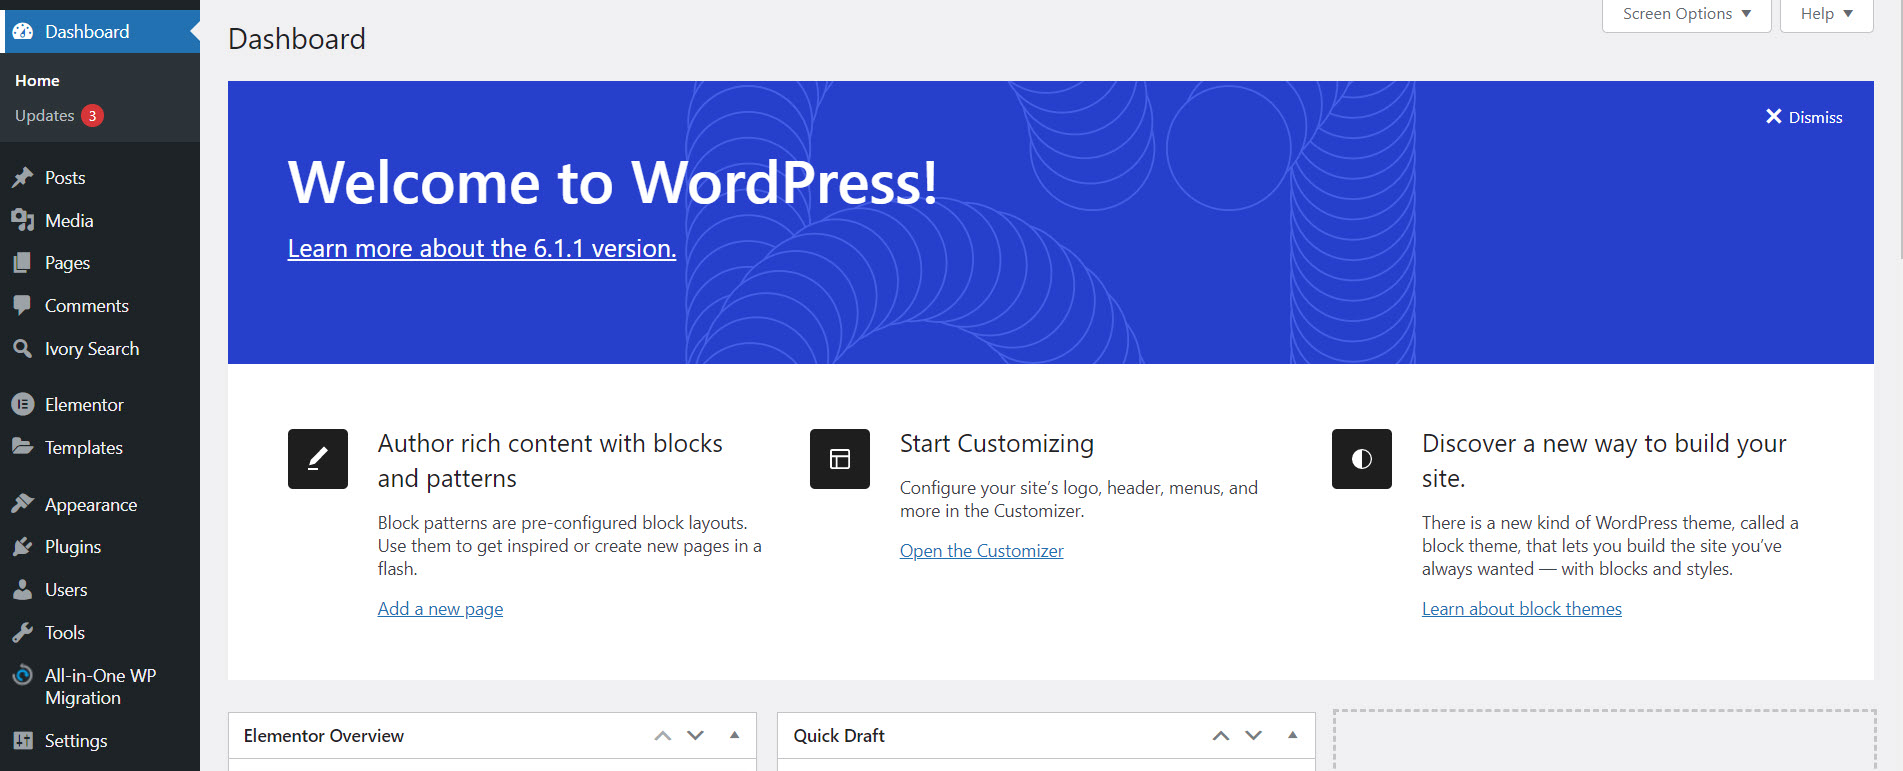
First Log in to your WordPress Dashboard and go to the "Appearance" section in the left-side menu.
Second Click on "Themes" and then click the "Add New" button at the top of the page.
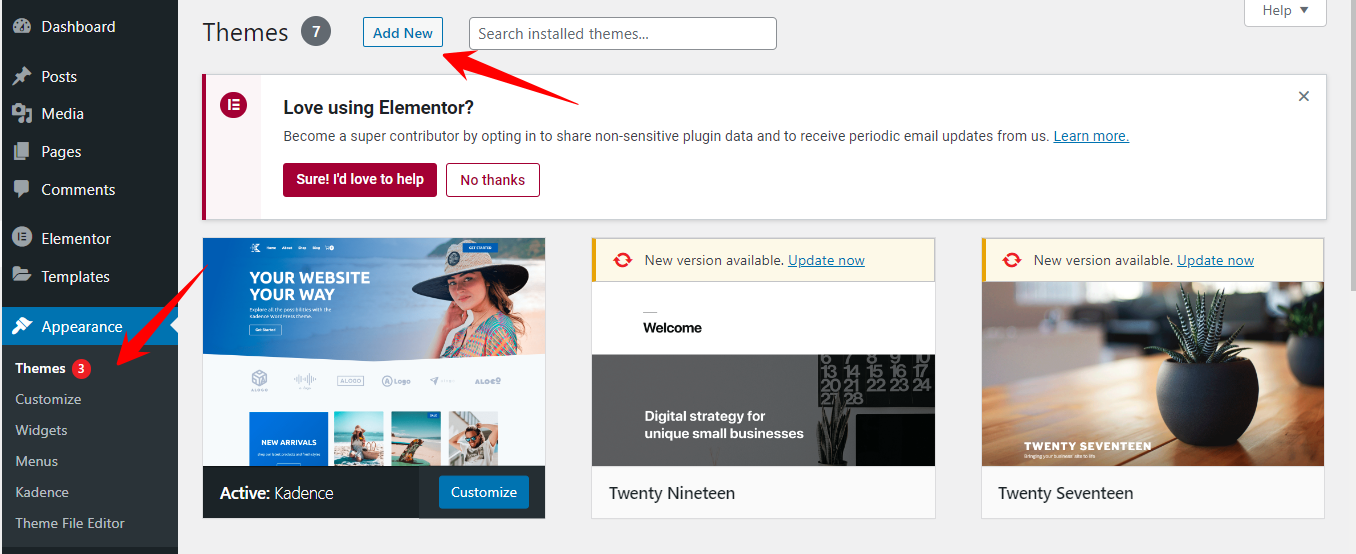
Once you go to the theme section then you will have to need to search for "maintenance mode theme" and select one of the options. Some popular options include "Maintenance Mode & Coming Soon" and "Under Construction & Maintenance Mode".

Once you have chosen whatever theme works well then you will have to Install and activate the theme.

Now you need to Customize the maintenance page by navigating to the "Appearance" section and clicking on "Customize." You can change the background color, add a logo, and add a message to your visitors.

Once you've made your desired changes, hit "Publish" to activate the maintenance mode on your site.

When maintenance is complete, switch back to your original theme by navigating to the "Appearance" section, clicking on "Themes," and activating your desired theme.This method provides a simple and easy solution for users who want to display a custom maintenance page without affecting their live website.Here are a few theme's that you can use:
- Launchpad: A minimal and modern maintenance mode theme that includes a countdown timer and email signup form.
- Maintenance: A simple and elegant maintenance mode theme that includes a progress bar and custom message.
- Under Construction: A fully customizable maintenance mode theme that includes a progress bar, countdown timer, and custom message.
- Maintenance Mode & Coming Soon: A versatile maintenance mode theme that includes a countdown timer, custom message, and email signup form.
- UnderConstruction: A modern and stylish maintenance mode theme that includes a countdown timer, custom message, and social media icons.
5. Simplest Method - Created Page as the Homepage
First, log in to the WordPress dashboard using your username and password.
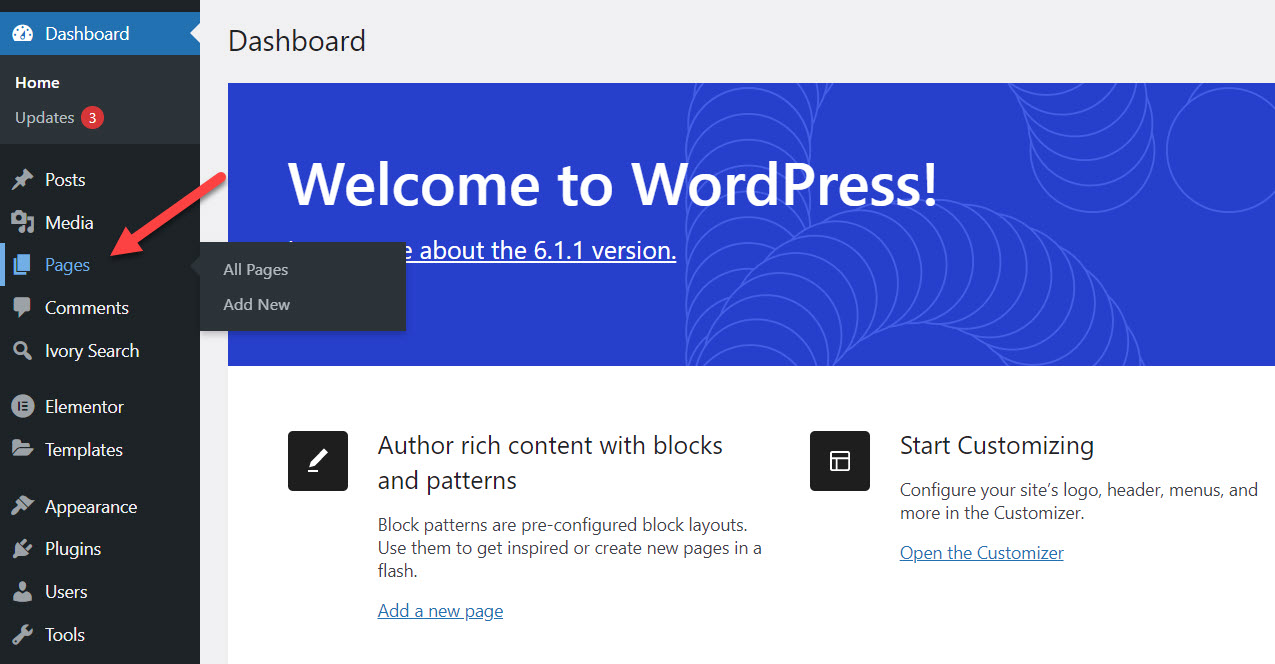
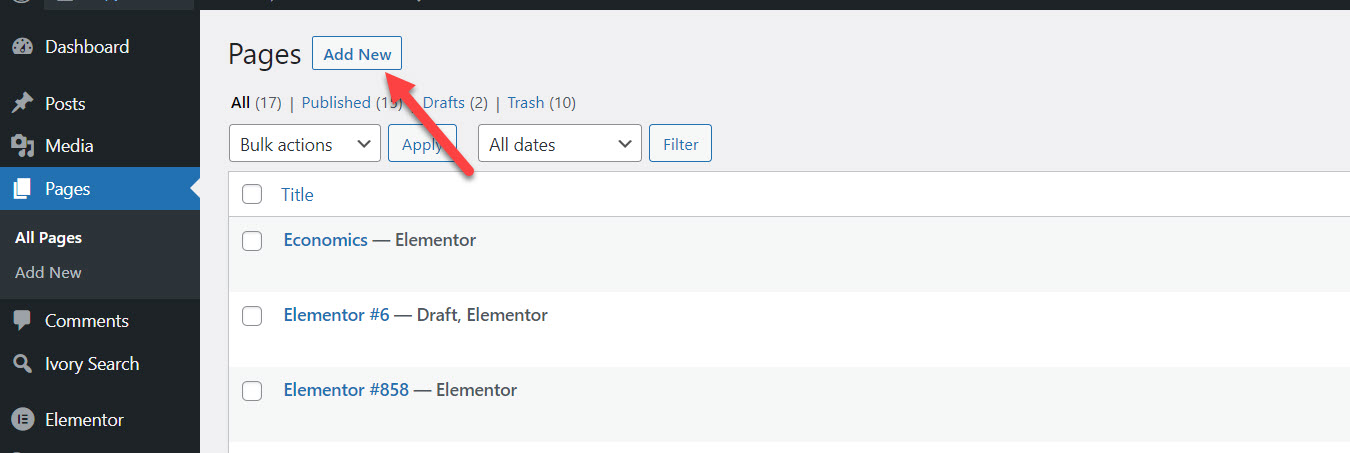
Once you're logged in, take a look at the left sidebar. You'll see an option called "Pages." Click on that, and it will take you to a page where you can manage existing pages and create new ones.
Now, in order to create a new page, look for the "Add New" button and click on it. This will take you to the page editor, where you can create your new page.
You'll be prompted to give your new page a title in the page editor. I suggest calling it "Under Construction." Feel free to name it whatever you like, though.
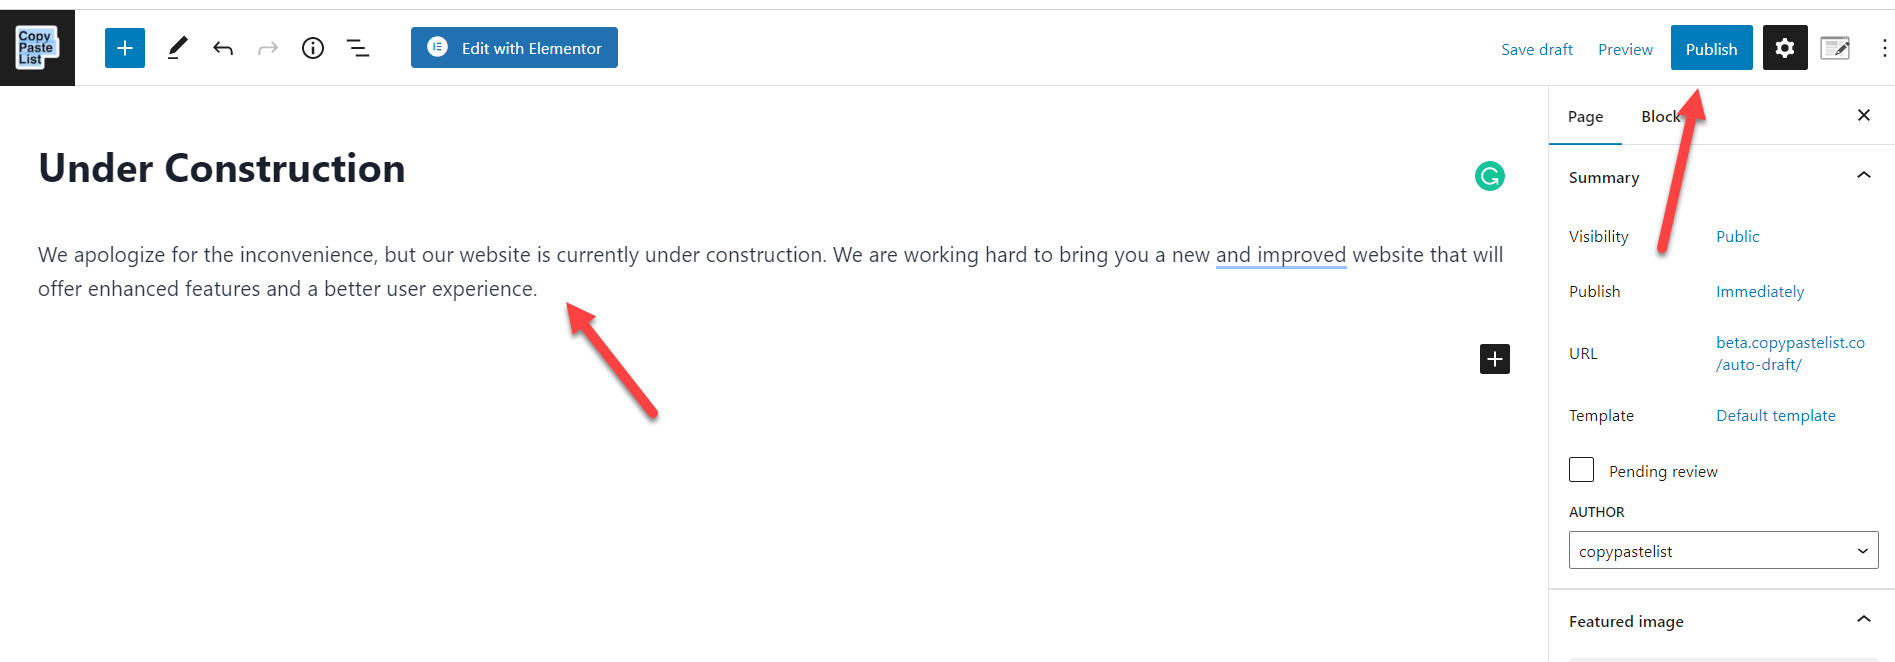
Once you've entered the title, don't forget to hit the "Publish" button to create the page and make it live on your website.Now that the page is created let's set it as the homepage. Go to "Settings" > "Reading" in the left sidebar. Change the settings for the front page to the "Under Construction" page.
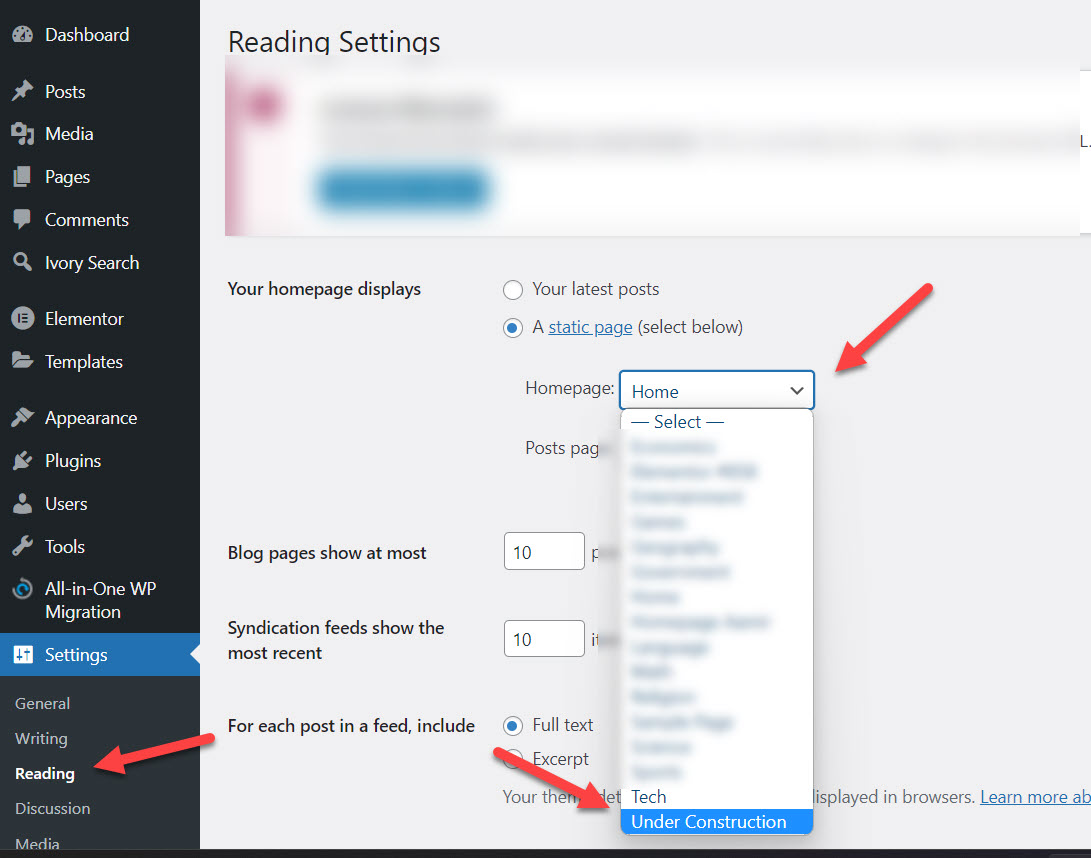
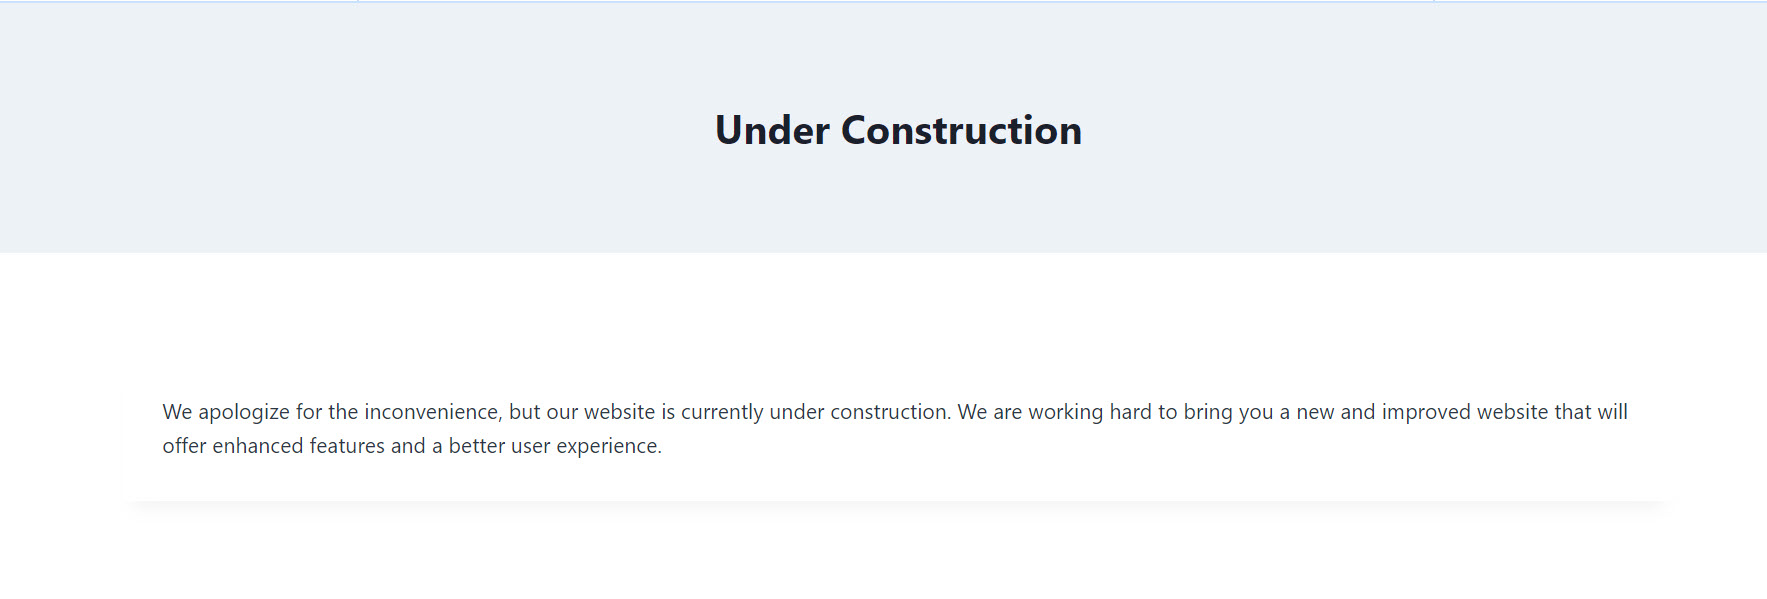
Finally, don't forget to hit the "Save Changes" button to apply the changes and set the "Under Construction" page as the homepage. And that's it; you're all set!
Final Thoughts
Several methods can put your WordPress blog into maintenance mode without a plugin.If you're already using Cloudflare, Edgy is recommended since it's the fastest and doesn't strain your servers. The best part? You don't need to add or edit anything.If you aren't a fan of Cloudflare, you should go for the function.php method, which is quick and easy.
You need to paste the maintenance code into the function.php, and you're ready.Are you a developer? I hope you'll use the maintenance.html way since it suits your lifestyle and can change any design aspect.Do you have any other way to put WordPress maintenance mode without a plugin? Did the above ways work for you? Let us know in the comment section.
FAQs
How to Enable WordPress Maintenance Mode Without a Plugin?
Putting your WordPress site into maintenance mode doesn't require a plugin. You can manually enable maintenance mode by editing your .htaccess file, using a maintenance.php file, or modifying your theme's functions.php file. These methods allow you to create a custom maintenance page that informs visitors of ongoing updates or maintenance, ensuring a professional appearance without relying on potentially vulnerable plugins.
Do I need plugins for WordPress?
Plugins are not mandatory for WordPress, but they extend the functionality of your site. They can add new features, improve security, optimize performance, and enhance the user experience. Whether you need plugins depends on the specific requirements and goals of your website.
How can I create an under construction page in WordPress without using a plugin?
You can create an under construction page by making a custom page, setting it as your front page in WordPress settings, and styling it with HTML and CSS.Building an under construction page for your WordPress site doesn't require a plugin. This approach ensures a professional appearance, avoids potential plugin vulnerabilities, and allows for easy customization to match your brand.
How to Create a Coming Soon Page in WordPress Without a Plugin?
Creating a coming soon page for your WordPress site is possible without using a plugin. By creating a custom page, setting it as your front page, and styling it with HTML and CSS, you can inform visitors that your site is under development and will be launching soon. This approach ensures a professional look, avoids potential plugin vulnerabilities, and allows for easy customization to align with your brand.
How do I enable safe mode in WordPress?
WordPress doesn't have a native 'Safe Mode' like operating systems, but you can achieve a similar effect by disabling all plugins and switching to a default theme. This is often done to troubleshoot issues. You can disable plugins via the WordPress dashboard or by renaming the plugins folder through FTP, and you can switch themes via the dashboard.


.svg)
.svg)
.svg)

