


In today's digital age, having a professional website is no longer a nice-to-have but a must-have. Whether you're a big business, a small startup, or even an individual looking to showcase your portfolio, your website is your online storefront. It can make or break that crucial first impression. So, it's essential to get it right.
But how do you create a website that looks sleek, functions seamlessly, and stands out from the crowd? Enter Webflow CMS, a powerful tool that allows you to create professional websites without coding experience. With Webflow, you can drag and drop elements to create custom designs and add and edit content as needed. Plus, Webflow offers many features and integrations to help you take your website to the next level.
This blog post shows you how to use Webflow CMS to create a professional website. We'll cover everything from choosing a template to adding content and customizing the design. So whether you're a complete beginner or you're just looking for a refresher, read on for everything you need to know about creating a website with Webflow CMS.

Understanding Webflow CMS
Before we get our hands dirty building a website, let's take a moment to understand what we're dealing with. So, what exactly is Webflow CMS? Simply put, it's a content management system that provides a dynamic, flexible platform for building and maintaining websites. But it's not just any CMS. Webflow CMS gives you complete control over your website's design, making managing and updating content a breeze.
One of the critical features of Webflow CMS is its ability to handle dynamic content. Now, what does that mean? Think of dynamic content as parts of your website that change regularly. It could be your blog posts, product catalog, team members, etc. Instead of manually updating these sections each time, with dynamic content, you define the structure, and Webflow CMS does the heavy lifting for you. It's like magic! Dynamic content gives you the power to maintain a consistent design while efficiently managing and updating content. Plus, the cherry on top? You don't need to write a single line of code!
In essence, Webflow CMS takes the hassle out of website creation and management, letting you focus on what matters: delivering a top-notch user experience. Now that we've got a grip on what Webflow CMS is and what it brings let's delve deeper into how we can use it to build a professional website. Ready? Let's go!
Here are some of the key features of Webflow CMS:
- Drag-and-drop design: Webflow CMS makes creating a custom website design easy without coding experience. You can drag and drop elements to create your unique layout, then add and edit content as needed.
- Dynamic content: Webflow CMS makes it easy to manage and update dynamic content on your website. This includes blog posts, product catalogs, and team member profiles.
- Customization: Webflow CMS gives you complete control over the look and feel of your website. You can change the colors, fonts, and layout to match your brand.
- Security: Webflow CMS is a secure platform with SSL encryption to protect your website data.
- SEO: Webflow CMS is optimized for search engines, making your website more likely to appear in search results.

Setting Up Your Webflow CMS
Alright, let's dive in and get your Webflow CMS set up! First, head to the Webflow website and sign up for an account. Sign-up is straightforward—enter your email and choose a password. Once you've done that, you'll land on your Webflow dashboard. This is your command center. It's where you'll create and manage all your websites, so take a moment to get acquainted with it.
Your Webflow CMS dashboard is sleek, intuitive, and packed with functionality. On the left, you'll see a list of your projects, and on the right, you'll find some valuable resources to help you navigate the Webflow universe. But the main action happens when you create a new project. That's where the magic of Webflow CMS unfolds.
To create a new project, click the New Project button in the top right corner of your dashboard. You'll be prompted to choose a template for your project. If you need help figuring out where to start, browse the template library or search for a specific template by keyword.


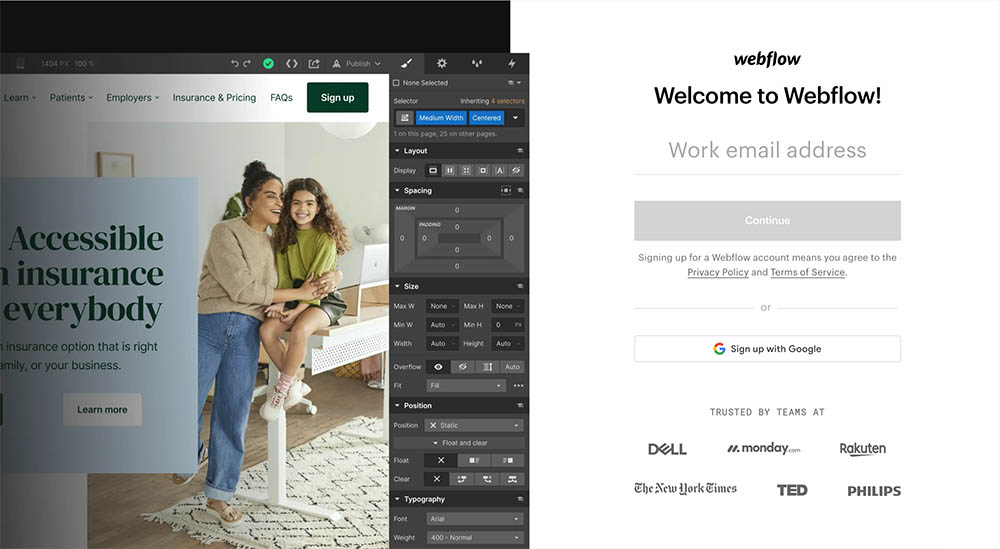
After choosing a template or a blank canvas, the project editor will automatically open for you. This is where you'll customize the design and content of your website.
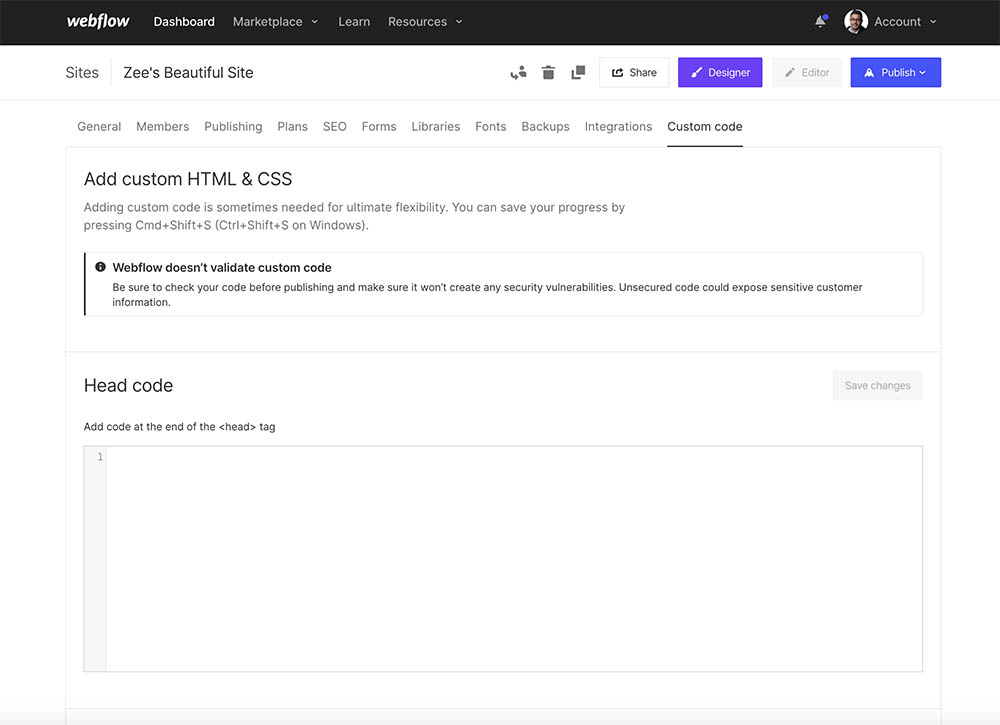
The project editor splits into two sections: the Design section and the Code section. The Design section is where you'll drag and drop elements to create the layout of your website. The Code section is where you can add custom code to your website.
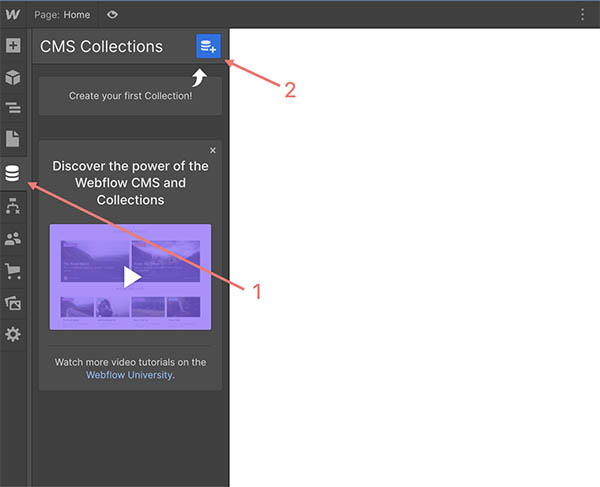
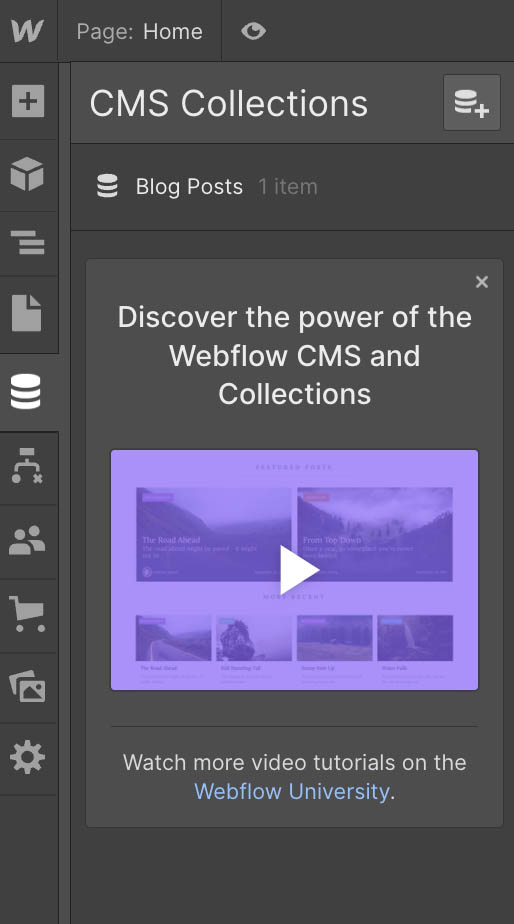
You'll need to create a Collection to add dynamic content to your website. A Collection is a group of related data, such as blog posts, products, or team members.
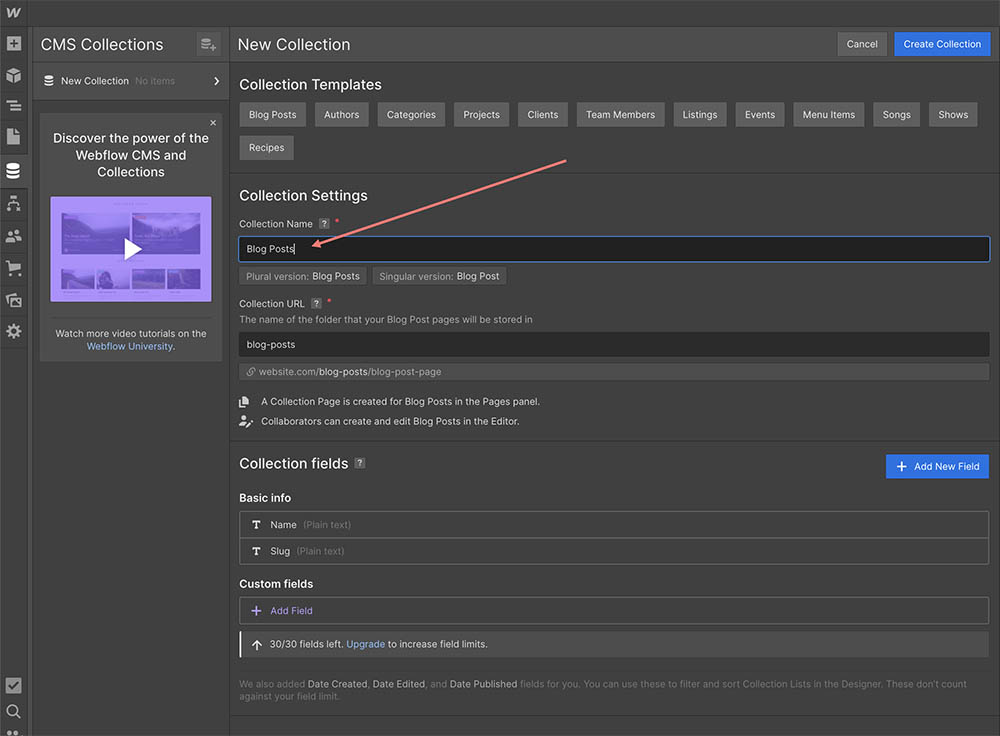
To create a Collection, click the Collections button in the left sidebar. Then, click the Create Collection button.
In the Create Collection dialog box, give your Collection a name and choose the type of data it will store.
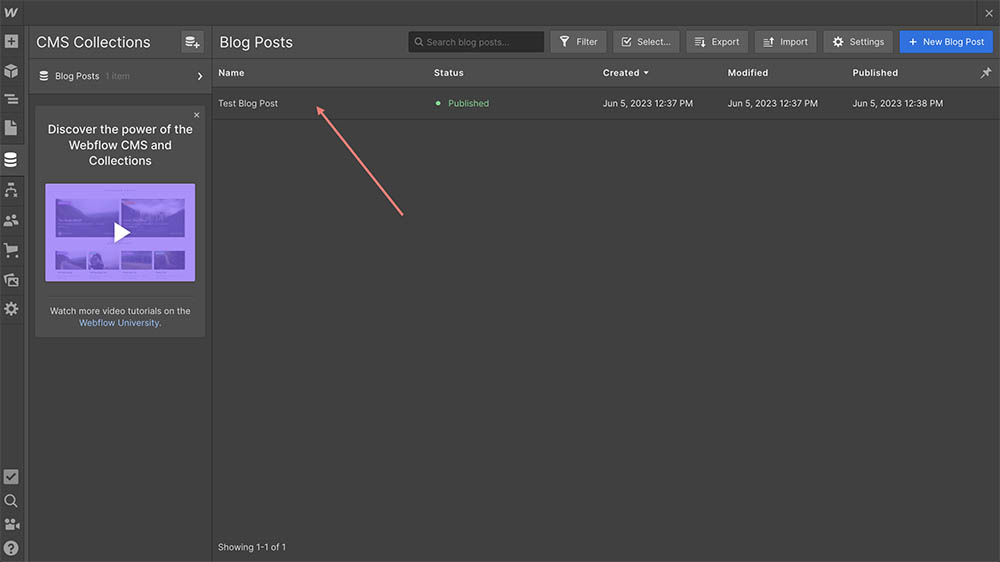
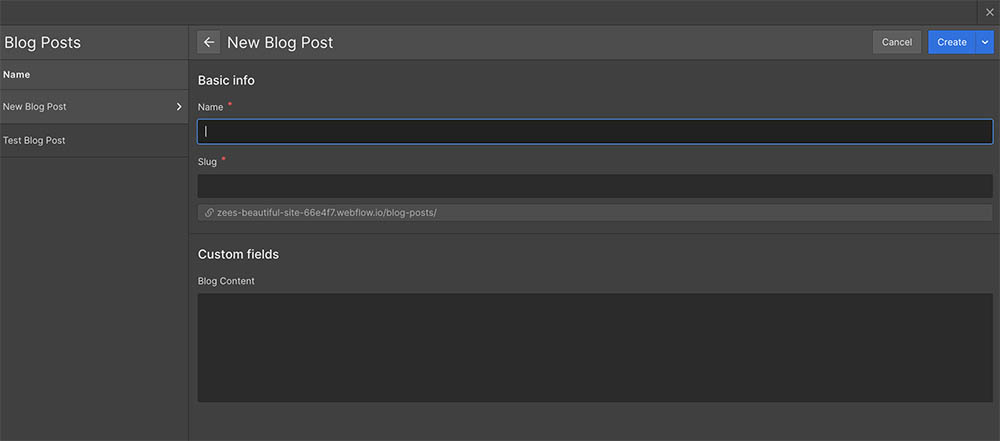
Once you've created a Collection, you can add items by clicking the Add Item button (The button will bear the name of the collection type, for instance, "New Blog Post.").

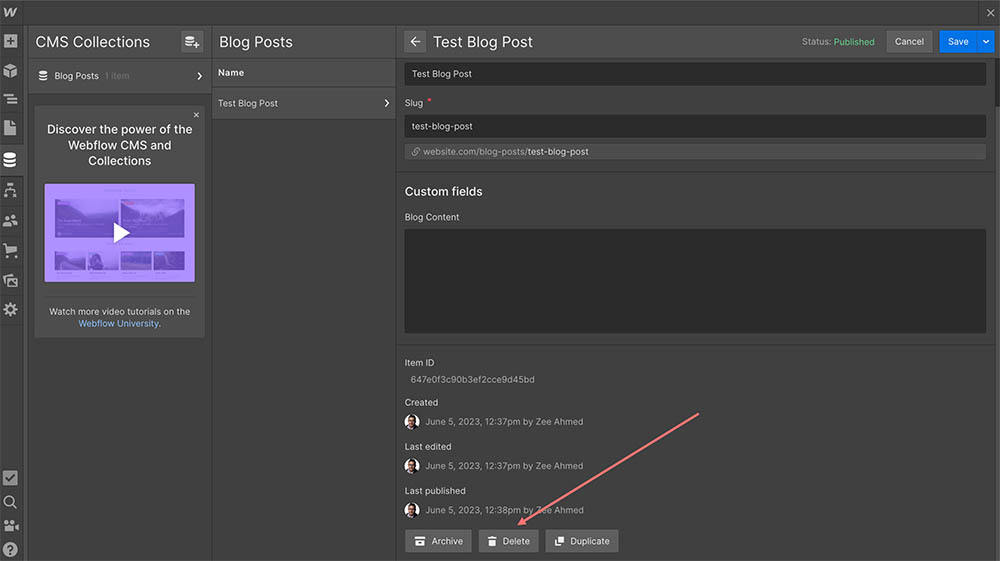
To edit an item in a Collection, click the listed Item.
To delete an item from a Collection, click the Delete button next to the item.
Once you've added dynamic content to your website, you can display it on your website pages using Collections. Drag and drop a Collection element from the Design section onto the page to do this.

You can then customize how the Collection content is displayed using the Collection settings.
That's it! You've now learned how to set up your Webflow CMS and create dynamic content for your website.
Designing Your Website with Webflow CMS
Diving into the design phase of your website is always an exciting process, and Webflow CMS brings this process to life through its Designer. Think of the Designer as your creative playground, a space where you can build, tweak, and fine-tune your website's look and feel. In addition, this powerful tool allows you to construct your site visually, which means you see the changes in real-time without coding.
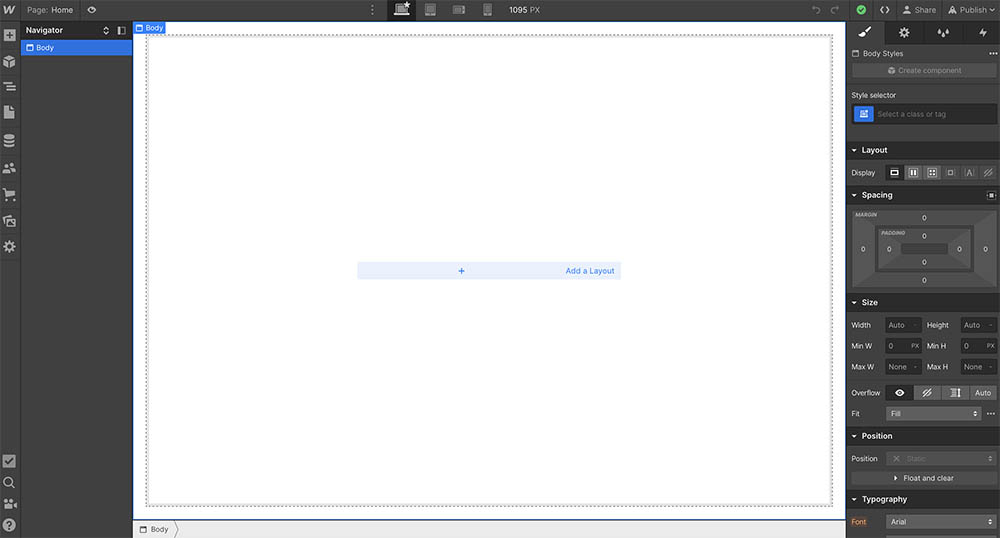
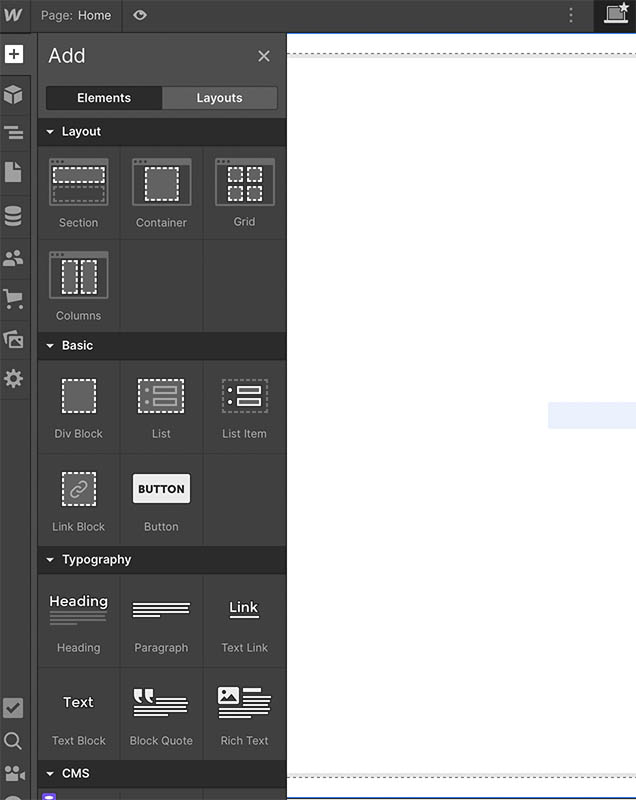
Now, let's talk about some design tools at your disposal. First, you have access to various elements that you can drag and drop onto your canvas, such as sections, containers, headings, and more. These elements are your building blocks, and you can style them using the Style panel. You can manipulate everything from fonts, colors, and sizes to margins, paddings, and backgrounds here. And yes, you can see all these changes happening right in front of your eyes!
But it doesn't stop there. Webflow CMS also allows you to customize your website's layout using CSS grid and Flexbox settings. And if you want to add some dynamic content, you can easily link your designs to your CMS Collections. You can customize components of your website, such as forms, sliders, and lightboxes, to match your site's style. So now, let's get to it! Remember, the best way to learn is by doing, so go ahead and explore the Designer, try out different tools, and start building your professional website with Webflow CMS.
Creating and Managing Content in Webflow CMS
Creating and managing content in Webflow CMS is a breeze. Here are the basics:
Collections
Collections are the building blocks of Webflow CMS. They allow you to organize your content into categories like blog posts, products, or pages.
To create a new collection, click the CMS tab in your Webflow dashboard and click Collections > New Collection. Next, give your collection a name and add fields for which you want to store data, such as title, author, publication date, or content.
Fields
A collection stores individual pieces of data known as fields. They can be anything from text to images to files.
When you create a new field, you can choose the data type it will store. For example, you can create a text field, an image field, or a file field.

Adding Items
Once you have created a collection and added some fields, you can add items. Click the Add Item button in the collection's edit view to do this.
When you add an item, the system will prompt you to fill out the fields you created. Once you have filled out all the fields, click the Save button.
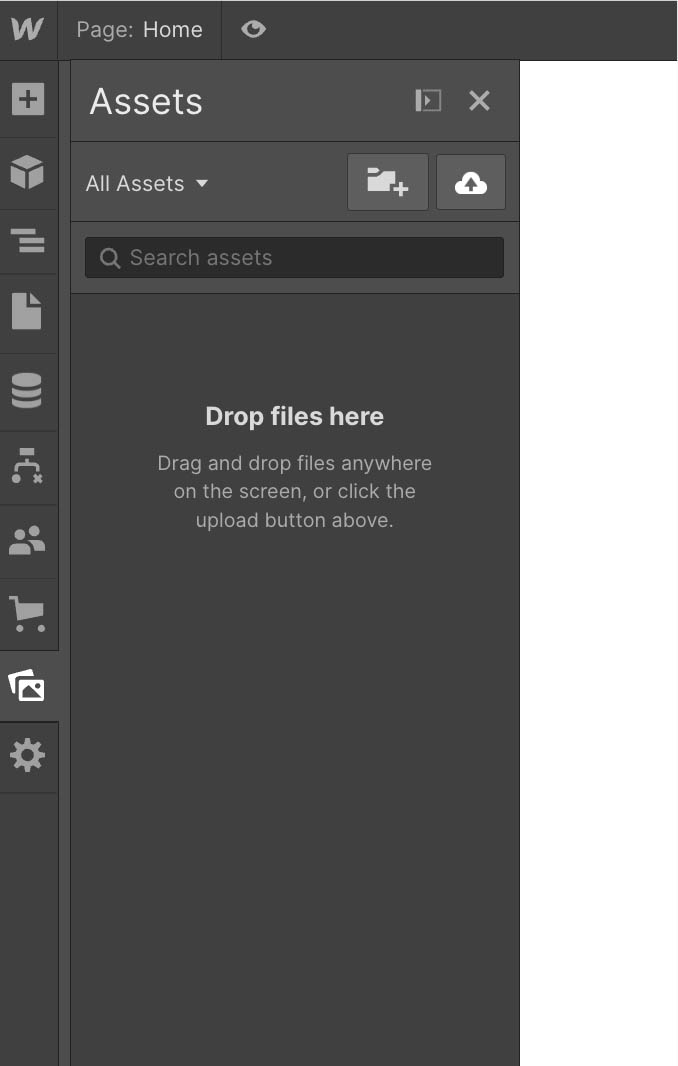
Media
Webflow CMS also makes adding and managing media files, such as images and videos, easy. To upload a media file, go to the Assets panel and click on the Upload button.
Once you have uploaded a media file, you can add it to your content by dragging and dropping it into the desired location.
Dynamic Pages and Templates in Webflow CMS
Dynamic pages and templates are a powerful feature in Webflow CMS that allows you to populate your website with content from your Collections automatically. This can save you a lot of time and effort and help you create more engaging and visually appealing websites.
Your Collections generate dynamic pages, with each item in a Collection receiving its unique page. Therefore, you must establish a template for that specific Collection to create a dynamic page. Every page created from it utilizes this template as a blueprint. On your Webflow CMS dashboard, you can create a new template under each Collection.
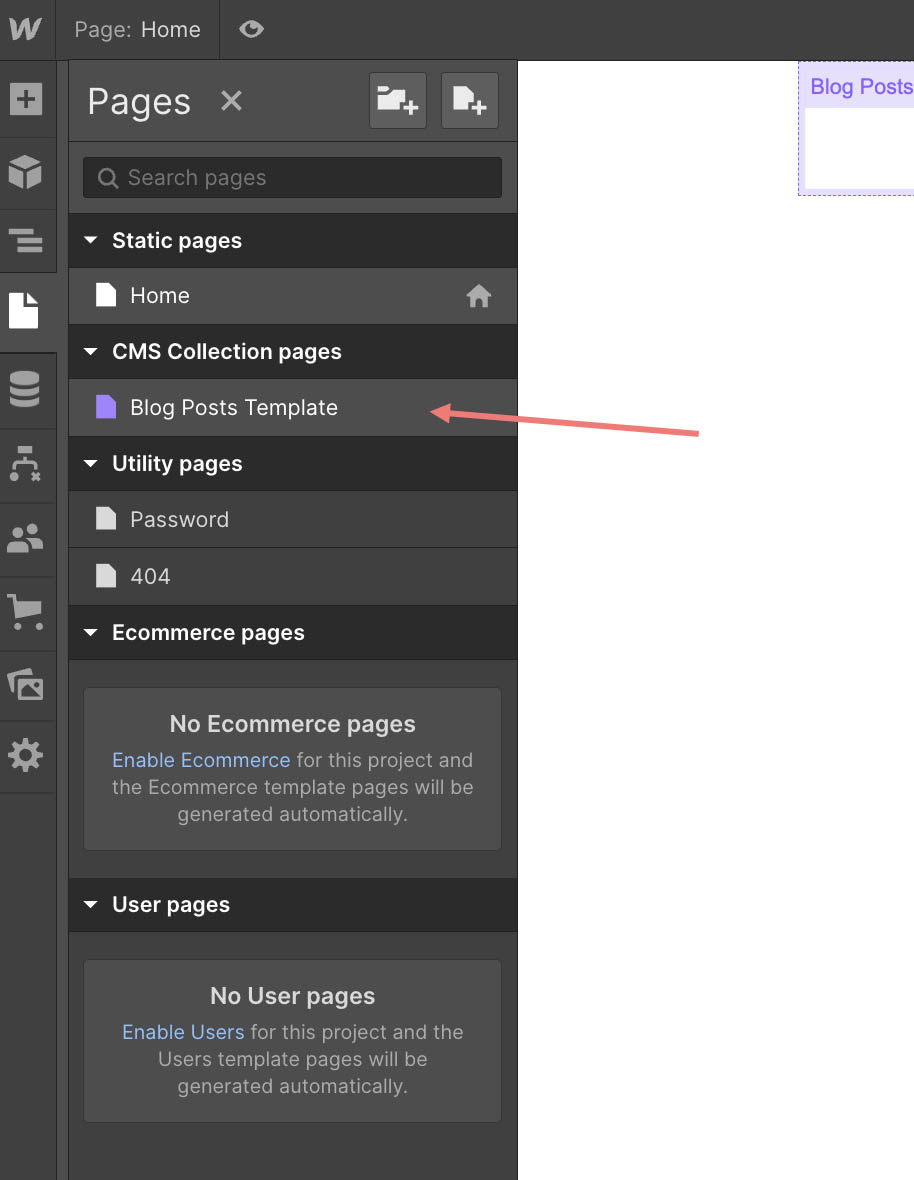
Once in the template editor, you can start designing your page like any static page. But here comes the magic: instead of adding static content, you can use dynamic elements. These elements are linked to the Fields of your Collection, allowing them to display the unique content of each item in your Collection.
For example, if you're creating a template for a 'Blog Posts' Collection, you might have a dynamic text element linked to the 'Title' Field. That means that on every page generated from this template, that text element will display the title of the respective blog post.
This process of linking dynamic elements to your Collection Fields is called content binding. In Webflow CMS, you can select the dynamic element and then choose the corresponding Field from a dropdown menu.
At the click of a button, you can design stunning, complex web pages that can be populated with unique content using this process.
Here are some of the benefits of using dynamic pages and templates in Webflow CMS:
- Save time and effort: Dynamic pages and templates can save you much time and effort by automating, creating, and populating pages with content.
Create more engaging and visually appealing websites: Dynamic pages and templates can help you create more exciting and visually appealing websites by allowing you to focus on designing the layout and structure of your pages and then letting Webflow CMS automatically populate them with content.
Improve SEO: Dynamic pages and templates can help improve your website's SEO by making it easier for search engines to index your content.
If you're looking for a way to save time and effort, create more engaging and visually appealing websites, and improve your website's SEO, then dynamic pages and templates in Webflow CMS are a great option.
Here are some additional tips for using dynamic pages and templates in Webflow CMS:
- Use clear and concise titles for your Collections and items. This will make it easier for you to find and edit the content in your Collections.
- Use descriptive text for your Fields. Understanding the content stored in your Fields will be made easier for you through this.
- Use high-quality images and videos. This will make your website more visually appealing.
- Keep your content up-to-date. This will ensure that your website always provides new and relevant information to your visitors.
By following these tips, you can get the most out of dynamic pages and templates in Webflow CMS.
SEO Settings in Webflow CMS
Search Engine Optimization (SEO) is optimizing a website to rank higher in search engine results pages (SERPs). This can attract more visitors to your website, leading to increased sales, leads, or other desired outcomes.
Webflow offers several SEO settings that you can use to improve the ranking of your website in SERPs. These settings include:
- Metadata: Metadata is data that provides information about a web page, such as its title, description, and keywords. Webflow CMS allows you to edit the metadata for each page on your website. This achievement is made by aiding search engines in understanding the purpose and desired ranking of your website in SERPs.
- URL structure: The URL structure of your website is how the pages are named and organized. A good URL structure can make it easier for search engines to crawl and index your website, improving its ranking in SERPs. Webflow CMS allows you to customize the URL structure of your website.
- 301 redirects: A 301 redirect is a permanent redirect that tells search engines that a web page has moved to a new location. Webflow CMS allows you to create 301 redirects for moved or deleted pages. These redirects can help maintain your website's ranking in SERPs even when pages are moved or deleted.
- Robots.txt file: The robots.txt file is a text file that tells search engines which pages on your website should not be crawled or indexed. Webflow CMS allows you to create and edit your robots.txt file. This method can help prevent search engines from crawling and indexing pages that you do not want to be indexed, such as pages under construction or pages containing sensitive information.
- XML sitemap: An XML sitemap is a file that lists all of the pages on your website. Webflow CMS automatically generates an XML sitemap for your website. This process can help search engines find and index all of the pages on your website.
By using the SEO settings in Webflow, you can improve the ranking of your website in SERPs and attract more visitors.
Here are some additional tips for improving the SEO of your Webflow CMS website:
- Use relevant keywords throughout your website content.
- Create high-quality content that is informative and engaging.
- Get backlinks from other websites.
- Optimize your website for mobile devices.
- Keep your website up-to-date.
By following these tips, you can improve the SEO of your Webflow CMS website and attract more visitors to your website.
Wrapping up
We've traveled quite a bit together on this Webflow CMS journey, haven't we? We've seen the intricacies of dynamic content management, embraced the power of dynamic pages and templates, and grasped the pivotal role of SEO in web design. All of these are crucial components when it comes to crafting a professional, high-quality website using Webflow CMS.
Remember that Webflow CMS is more than just a website-building tool; it's a platform that allows you complete control over your web design without coding. Its visually intuitive interface and advanced features will enable you to take your website from a mere idea to a full-fledged digital platform.
Whether you're a small business owner, a blogger, or a digital agency, Webflow CMS can be a powerful ally in your website creation journey. Its flexibility, user-friendliness, and robust feature set provide a seamless website creation experience.
In summary, building a professional website with Webflow CMS involves understanding the platform, setting up your account, designing your pages, managing and creating content, optimizing for SEO, and then—probably the most rewarding part—publishing it for the world to see.
The ball is now in your court. So, step into the world of Webflow CMS, and let your creativity run wild. Webflow CMS aims to assist seasoned web designers and complete newbies create stunning, professional websites with relative ease. So, give Webflow CMS a whirl, and witness your vision come to life!


.svg)